Add a spicy touch to practically any dish with these Italian Pickled Hot Peppers following my mom's easy authentic recipe!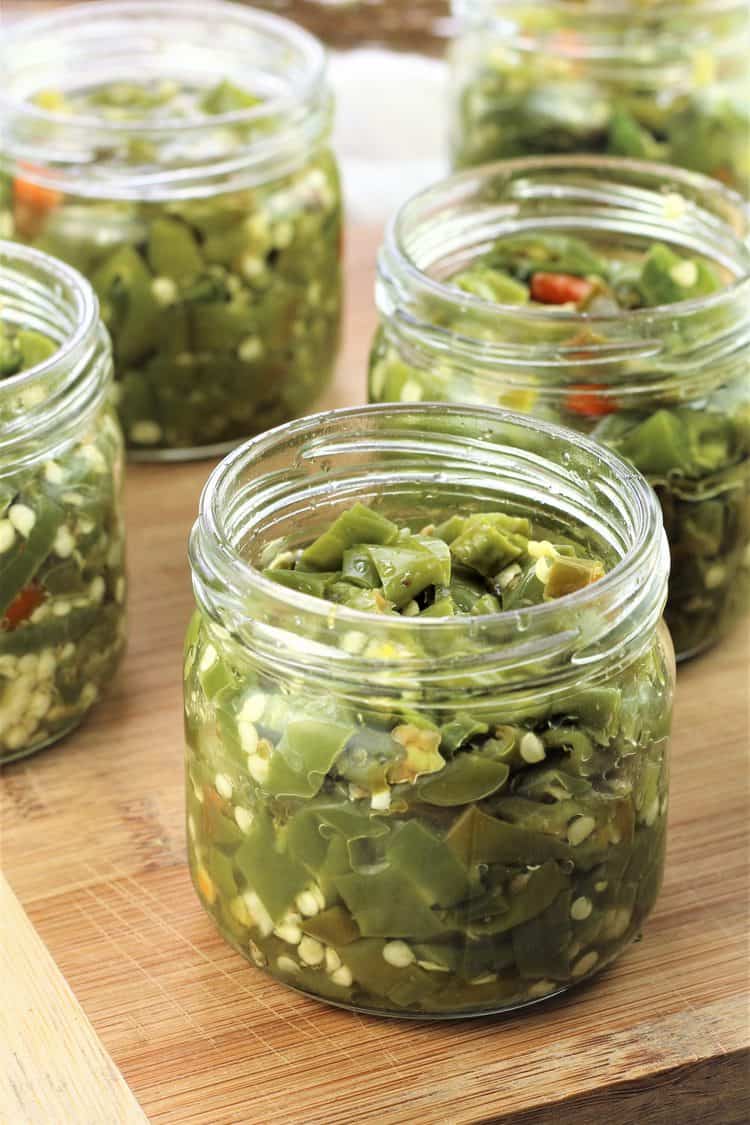
Last week was no doubt a busy week in the Mangia Bedda kitchen! It started off with a trip to the Jean-Talon Market in Montreal to pick out eggplant for pickling (here's that recipe); hot peppers for this recipe as well as peppers and eggplants for stuffing (recipe coming soon). Then we bought a bushel of beans to shell and freeze for the winter so we can make White Bean and Potato Soup. And while I was at it I picked the remaining green tomatoes in my garden to pickle using the same method described in this post. All this under my mom's guidance!
If you read my Italian Pickled Eggplant post, you'll immediately notice that the process for making these pickled hot peppers is entirely the same. Only with different quantities of course. Since my son is capable of going through several jars of these each year, it was time for me to make my own.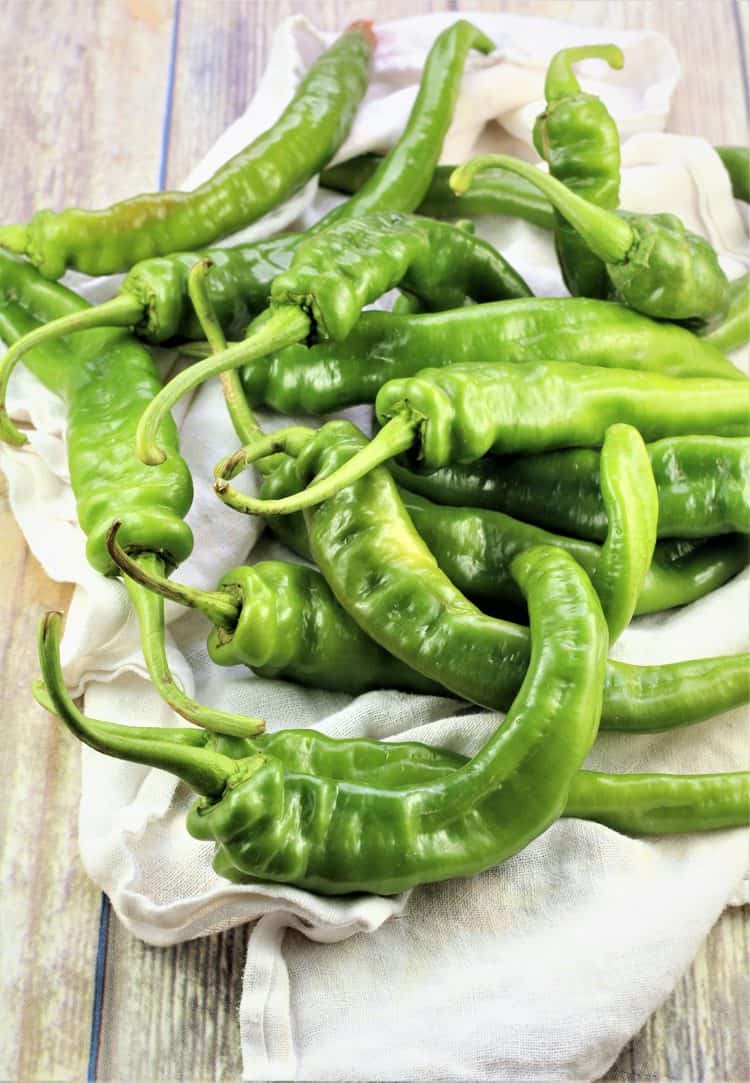
To Serve
So you might be wondering exactly what we do with all these pickled hot peppers? These are more of a condiment rather than an antipasto (appetizer) such as pickled eggplant or giardiniera. We basically put them on everything. My son is actually able to pop them into his mouth and eat them as is!
The most common way we consume them is to add them to our pasta dishes such as Maccaruna once served at the table. We pass the jar of pipi forti as we call them in Sicilian and each of us adds as much as we are able to handle! If the actual pepper is too hot for you, another option is to drizzle a little of the spicy oil over your dish.
They are delicious in egg dishes such as Fried Tomatoes with eggs (shown below) and Fried Eggs with Greens. 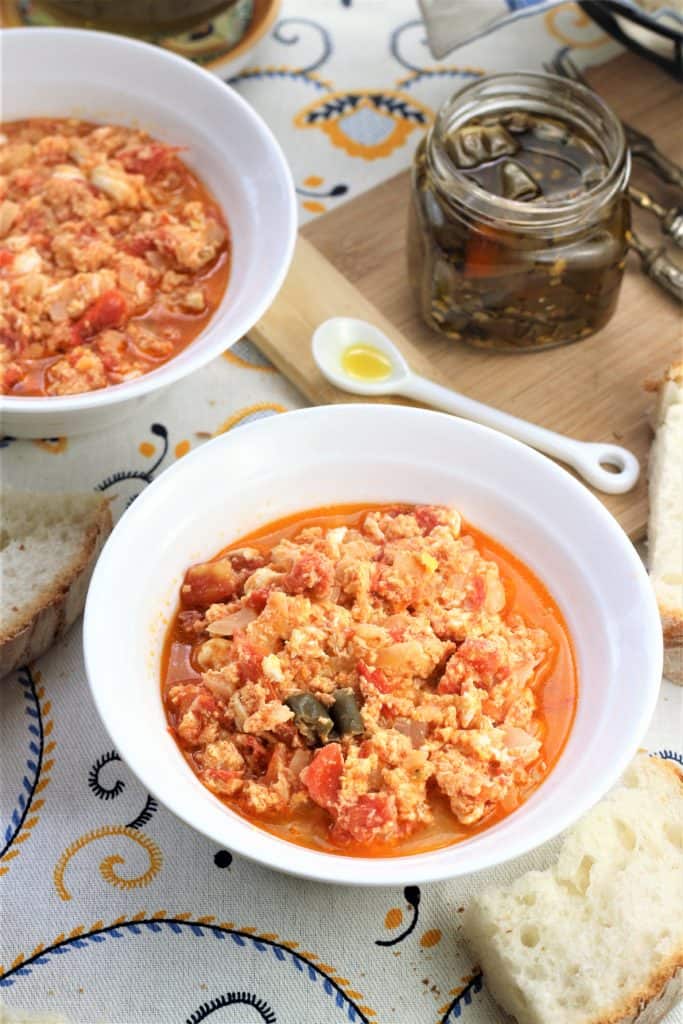
Try adding them to sandwiches, pizzas, or calzone. You got the idea, just add them to anything you want to give a little extra kick to!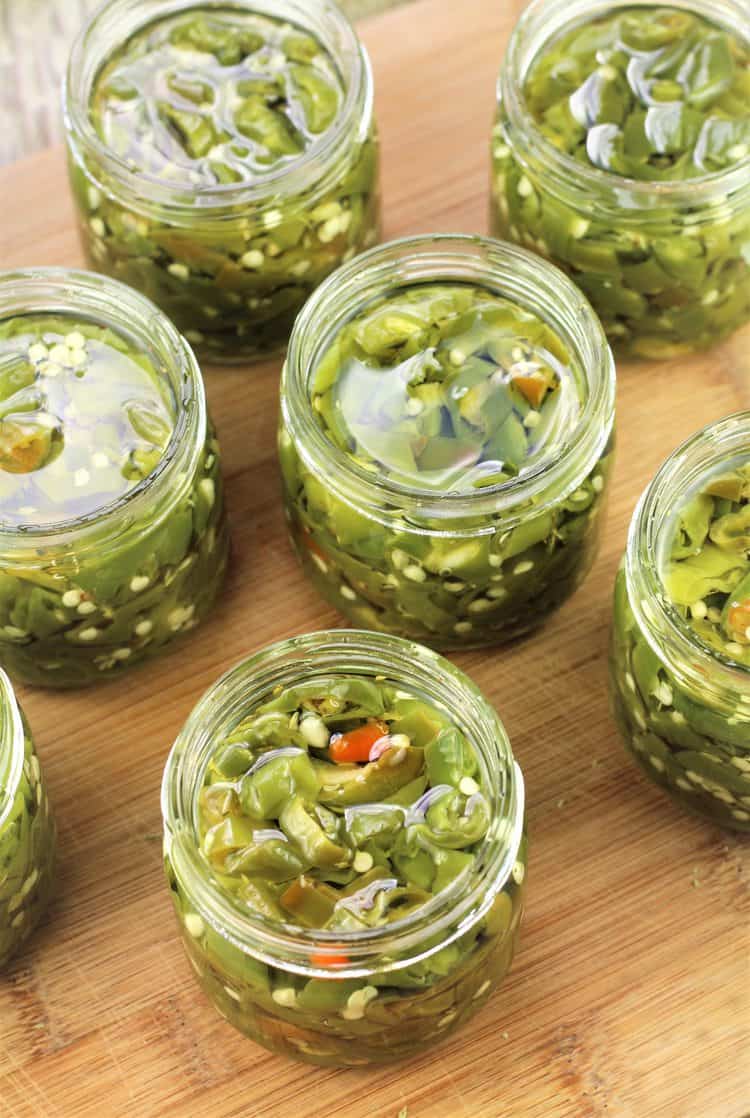
Choosing the right hot peppers for pickling
I followed my mom around the market to find the right long hot peppers for this recipe. She has a few important criteria: first of all they must not be red! Why not? Cause she says the red ones are softer and she prefers the crisp texture of green ones. By the way, if you bring them home and decide to process them a few days later, they will begin to turn red!
Next, we have to find the right level of spiciness in the peppers. We did so by sampling a few. Thankfully a few vendors allowed us to sample them before purchasing otherwise we would have ended up with mildly spicy peppers, and that simply would not do! So don't be afraid to ask the vendor if you can taste one. Most of them are willing to oblige!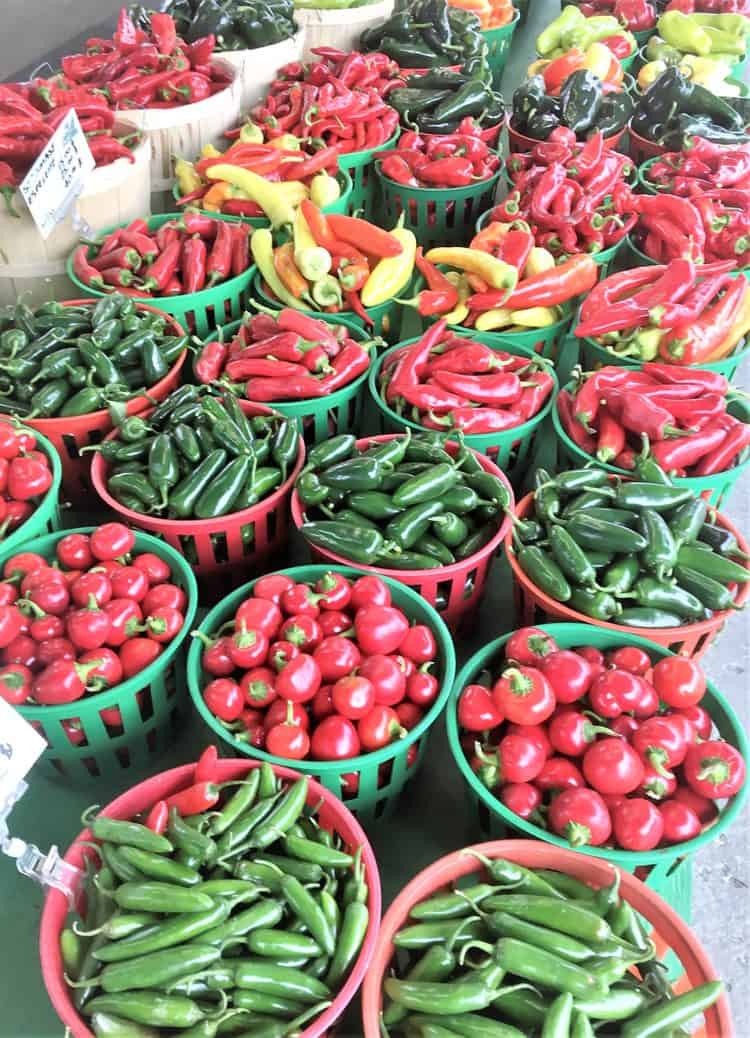
Incidentally, in case you're wondering, my son did the sampling here. If they're spicy enough for him to handle then they're spicy enough! So here they are, nonna and grandson picking out the peppers together.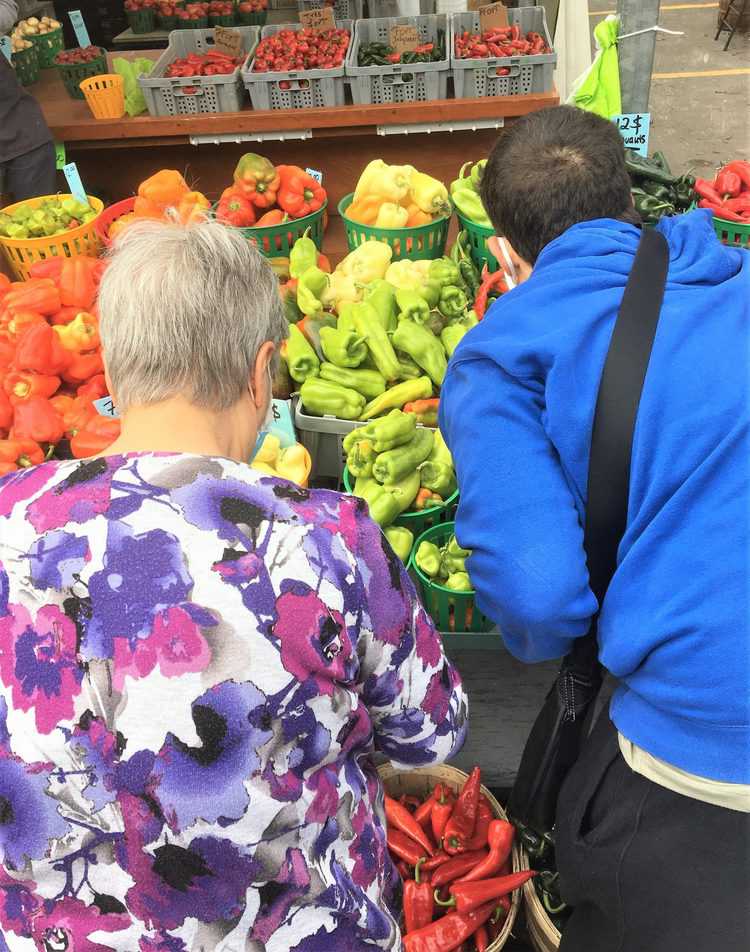
We settled for these long, thin, twisted shaped peppers which are commonly known as Italian Long Hot Peppers, or long hots.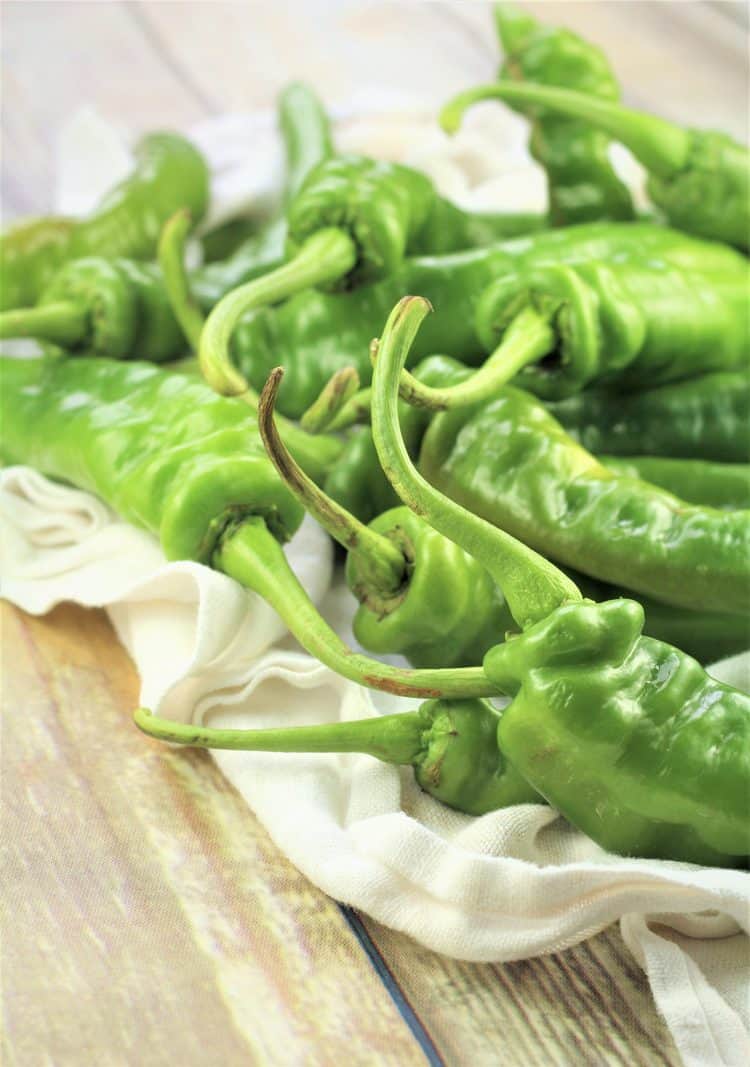
Step by Step Instructions
Once again, this process takes approximately 54 hours, but please read on as you'll notice that most of it is inactive resting time. The complete printable recipe card with exact ingredient quantities is at the end of this post.
Day 1 - Salt the hot peppers
Wash the peppers and dry them well. Slice into thin rounds (as shown) and place in a large bowl. Discard the stem. It is ideal to use food grade gloves to do so. If you don't have any, please do not touch your eyes or face after you cut them! Wash your hands well after handling them. 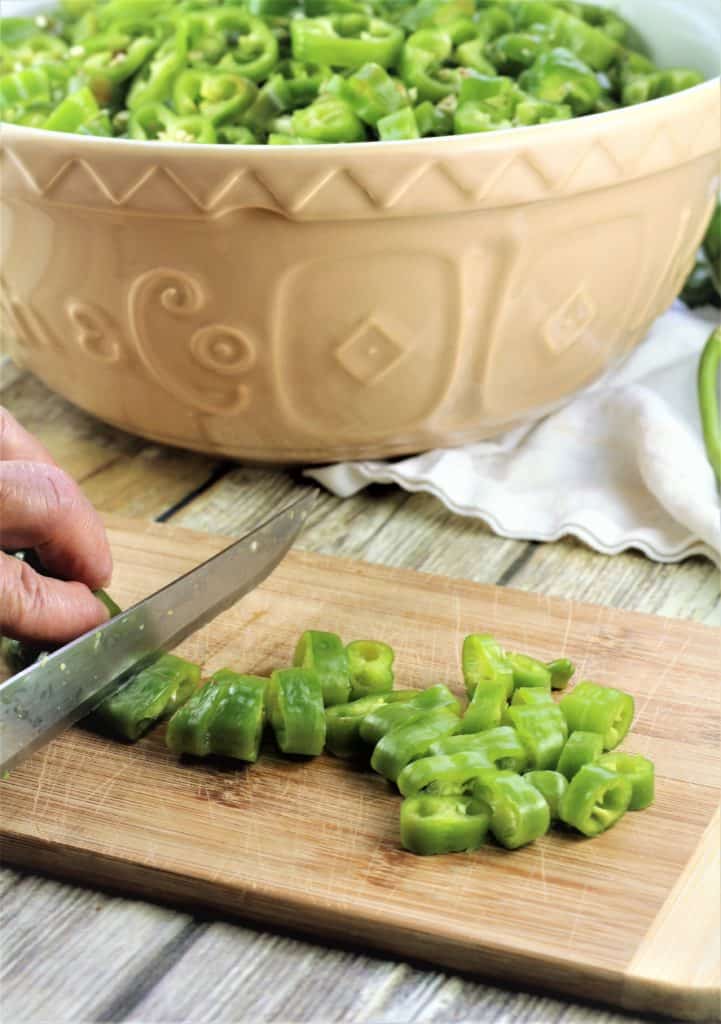
You'll also notice we do not remove the seeds. This is where all the spicy flavor is! Add course salt and toss to coat.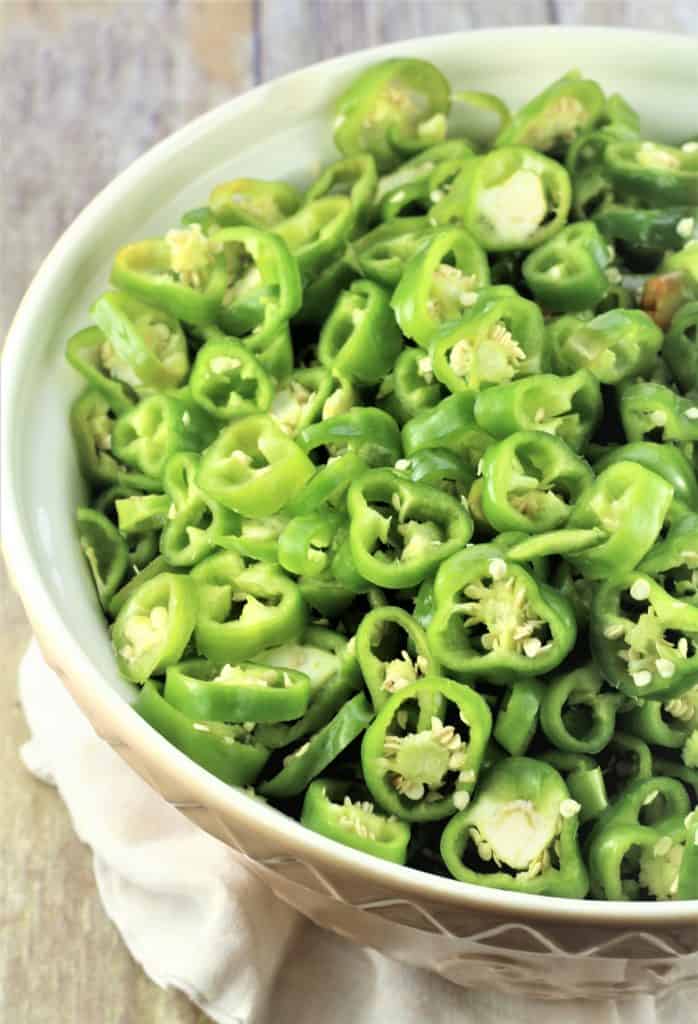
Place a salad plate upside down over the peppers and weigh them down with a heavy object such as large can; plastic bottle of vinegar or oil or a large paving stone which I happen to have around. I placed it in a plastic bag to make sure it did not come into contact with the peppers. Let sit on your counter for 24 hours.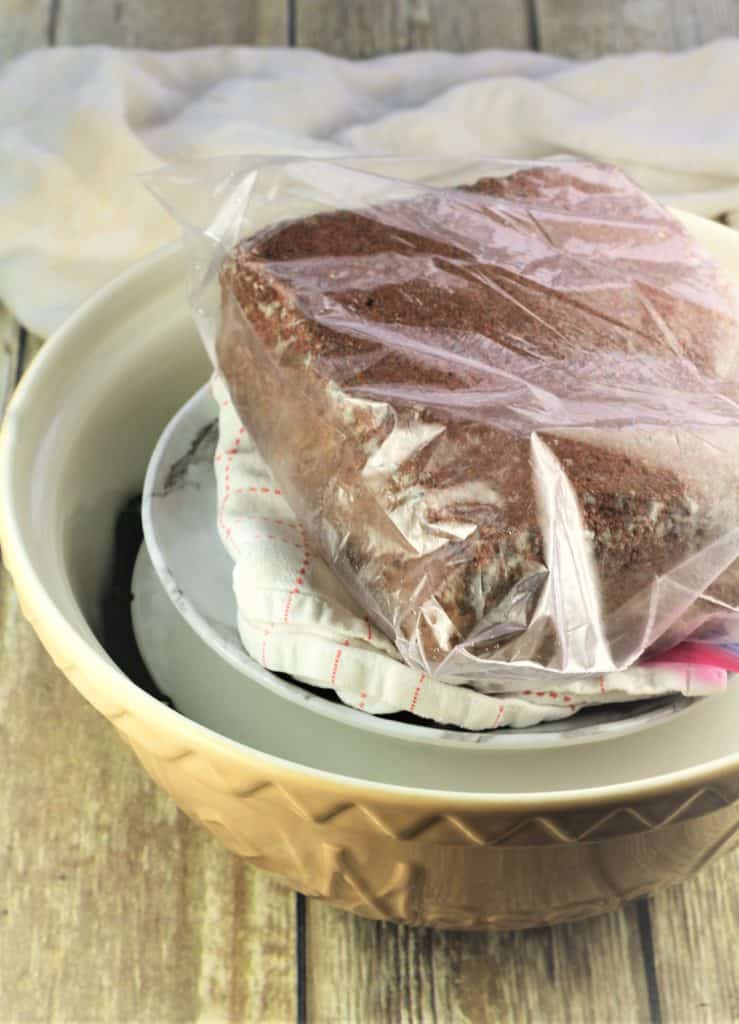
Day 2 - Add vinegar
After 24 hours you will see water pooled around the peppers. Drain in a colander, then place your salad plate and weight over the peppers once again to squeeze out as much water as possible. Let sit for 2-3 hours.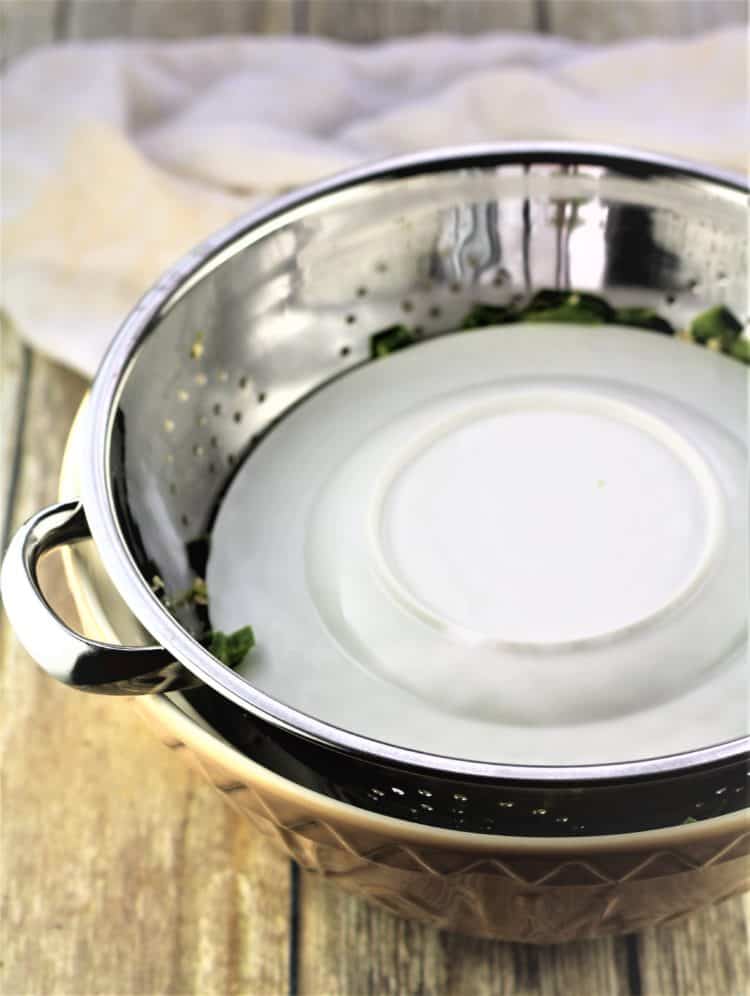
Place the drained peppers back in the large bowl and toss with white vinegar. Just as you did the previous day, place a salad plate over the bowl, weigh it down and let sit again for 24 hours.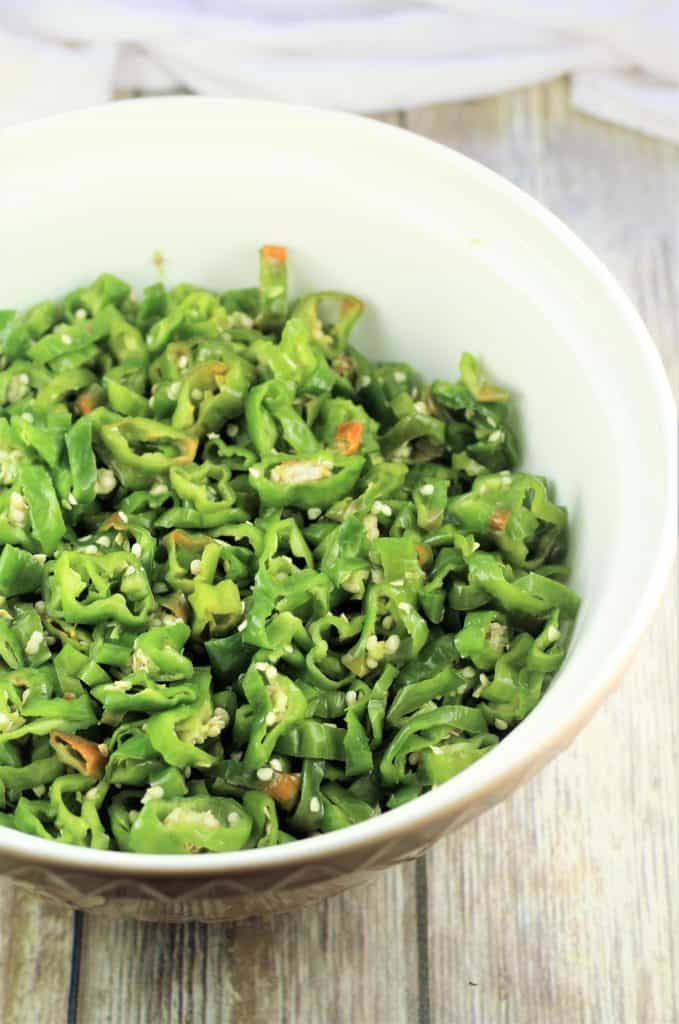
Day 3 - Place in jars
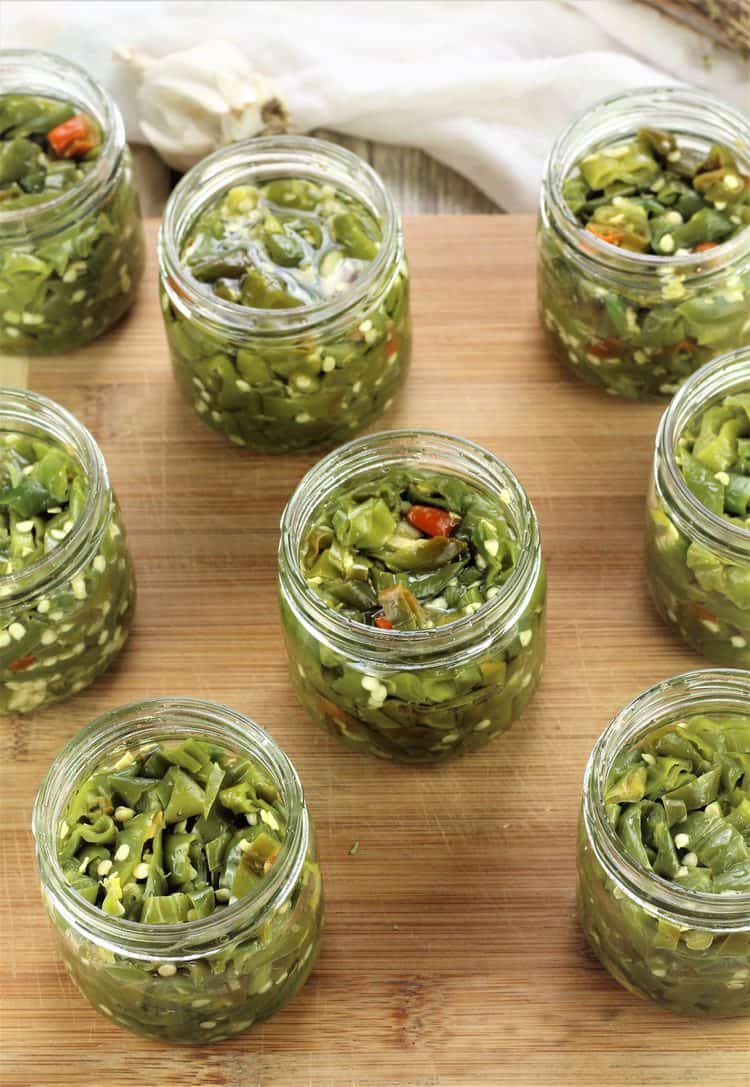
You're now ready to place them in jars. I sterilized by jars following the method outlined here. I used 8 -200 ml jars for this recipe.
The process is repeated once again! Drain the peppers in your colander and weigh them down for 2-3 hours to squeeze out as much liquid as possible. Roll the peppers in a clean dish towel to dry them well. 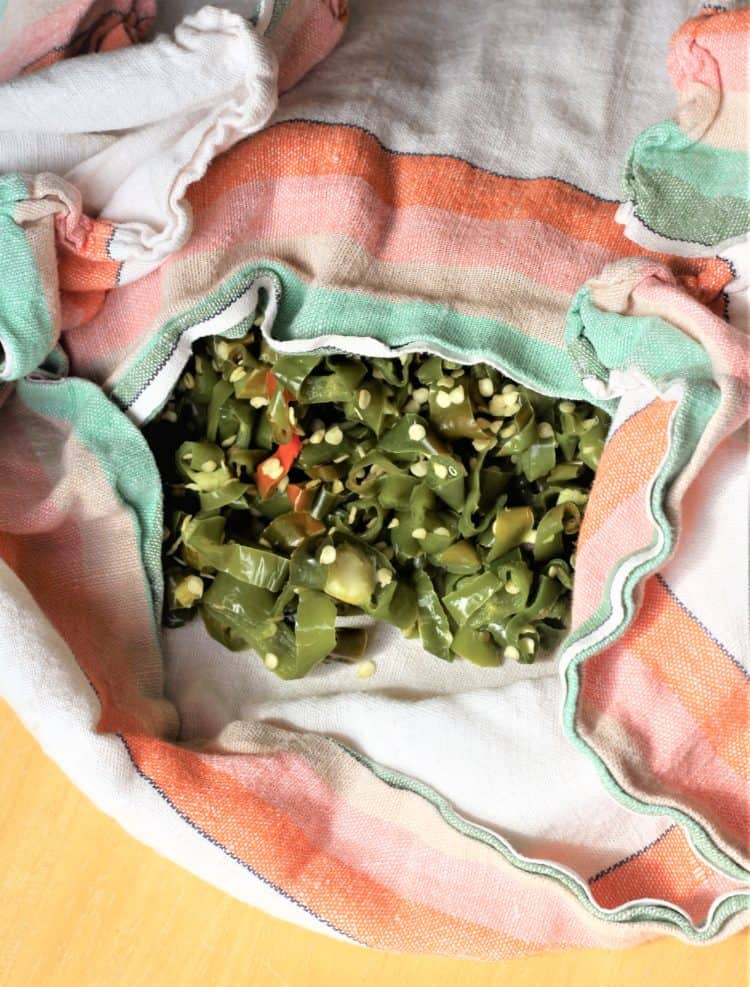
Transfer to the bowl and toss with vegetable oil; slivered garlic and oregano. 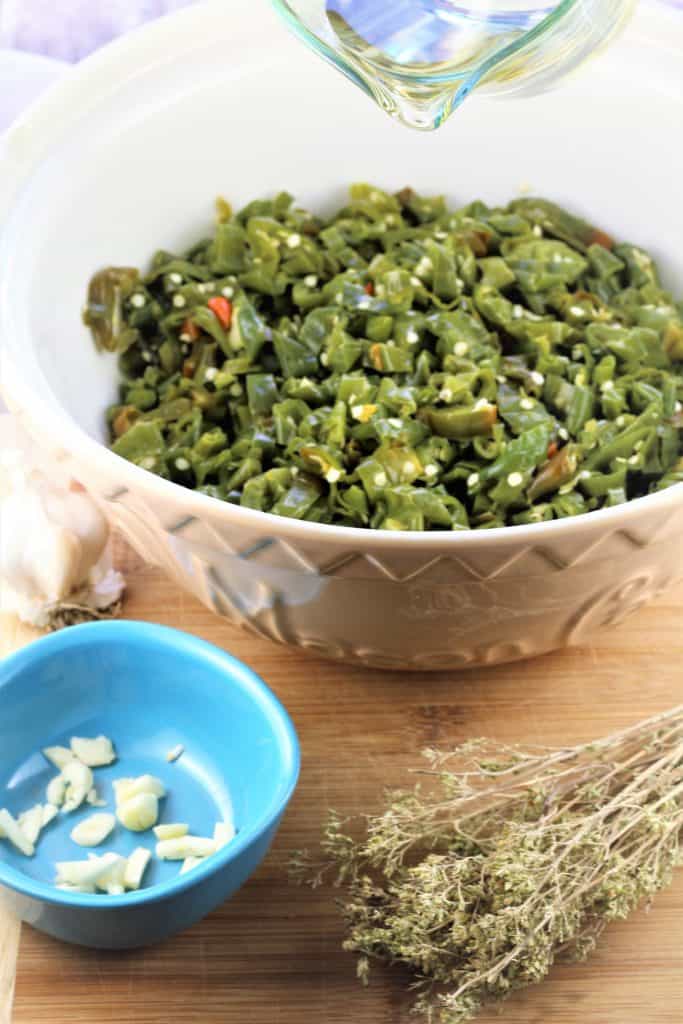
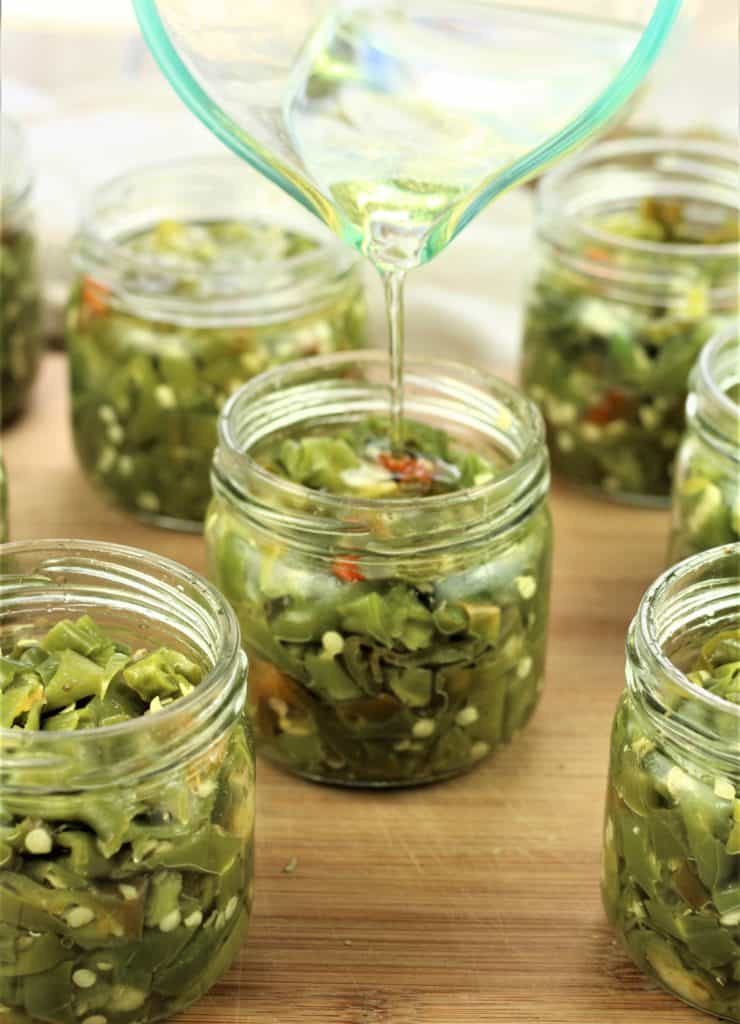
Use a fork to tightly pack the peppers in the jars. Fill up until approximately 2.5. cm below the rim. Top with extra oil to ensure that they are completely submerged.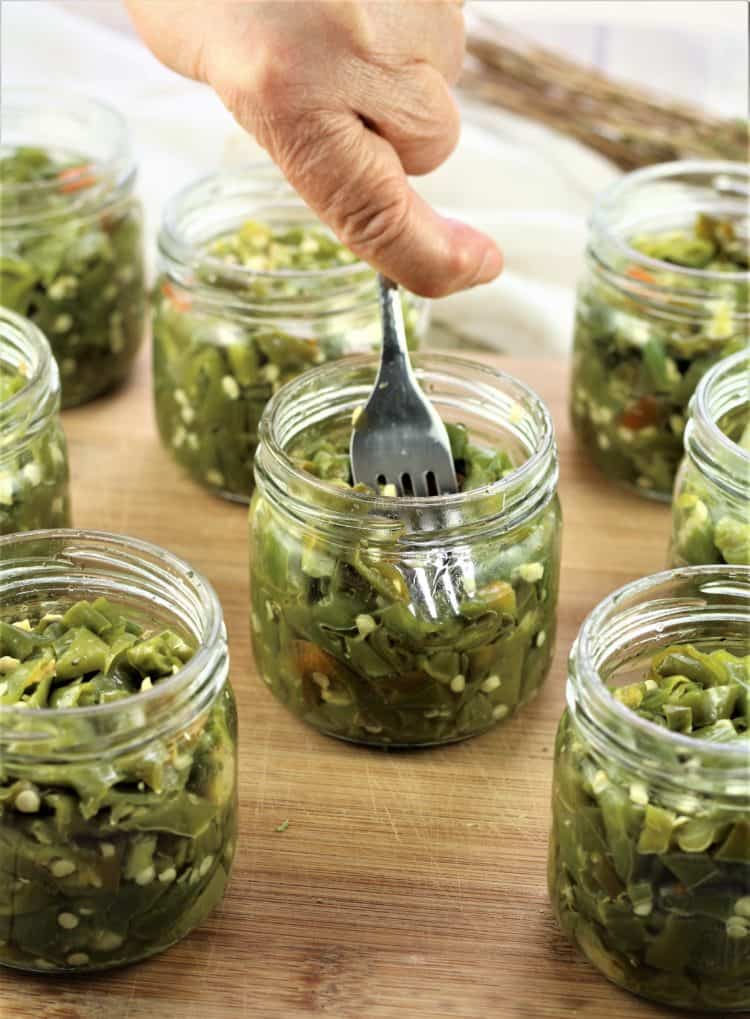
Storage
The cold room or cantina is the best place to store the jars, if you have one. Otherwise any dry cool place in your home will do. Traditionally, Italians do not seal the jars in a water bath and they do keep well indefinitely. However if you are concerned about safe storage here are a few options:
-If you have space, keep them in the refrigerator. Since this recipe uses vegetable oil, the oil will not solidify in the refrigerator.
-You may also seal the jars in a hot water bath as described here.
-Once a jar is opened, keep it refrigerated and top with extra oil as needed to keep the peppers submerged.
When can they be served?
They are ready to be served immediately if you wish, however they are even better after several weeks as the flavors will have had time to mingle.
I hope that I've inspired you to try pickling your own vegetables this fall! If you do, please let me know how yours turned out by commenting below as well as rating this recipe. Feel free to Pin the recipe for later. Buon appetito!

Italian Pickled Hot Peppers Recipe
Ingredients
- 2 kg Italian Long Hot Peppers (hot green peppers)
- ¼ cup coarse salt
- 1 ¼ cups white vinegar
- 1 ½ cups vegetable oil (canola, sunflower oil are other options)
- 1 garlic clove slivered
- 1 tablespoon dry oregano
Instructions
Day 1 -Salt the peppers
- Wash the peppers and dry well. Slice into thin rounds (as shown) and place in a large bowl. Discard the stem. It is ideal to use food grade gloves to do so. If not, please do not touch your eyes or face after you cut them! Wash your hands well.You'll also notice we do not remove the seeds. This is where all the spicy flavor is! Add course salt and toss to coat.
- Place a salad plate upside down over the peppers and weigh them down with a heavy object such as large can; plastic bottle of vinegar or oil or a large paving stone which I happen to have around. You'll notice I placed it in a plastic bag. Let sit on your counter for 24 hours.
Day 2 - Add vinegar
- After 24 hours you'll notice water pooled around the peppers. Drain in a colander, then place your salad plate and weight over the peppers once again to squeeze out as much water as possible. Let sit for 2-3 hours.
- Place the drained peppers back in the large bowl and toss with vinegar. Just as you did the previous day, place a salad plate over the bowl, weigh it down and let sit again for 24 hours.
Day 3 - Place in jars
- You're now ready to place them in jars that have been sterilized. I used 8 -200 ml jars for this recipe.
- Drain the peppers in your colander and weigh them down for 2-3 hours to squeeze out as much liquid as possible. Place the peppers in a clean dish towel to dry them well.
- Transfer to the bowl and toss with oil; slivered garlic and oregano.
- Use a fork to tightly pack the peppers in the jars. Fill up until approximately 2.5. cm below the rim. Top with extra oil ensuring that they are completely submerged.




Lisa Porfido
After the first 24hr some of the seeds have turned brown. Is this ok?
Nadia
Hello Lisa, yes that is ok and does happen to me too!
lisa gardner
consistently the best pickled hot peppers i have ever made!
Nadia
Lisa thank you very much, I'm thrilled to hear that you enjoy my mom's recipe. They are indeed the best!
Daniela
Third year in a row that I'm making these. I don't add the garlic or oregano because I prefer them plain. So so good!
Nadia
Hello Daniela, thank you for sharing! I'm thrilled to hear you enjoy these peppers, even without the garlic and oregano they must be tasty!
Anna Bucciarelli
Got some Italian longs growing (my daughter starts all of her vegetables from seed and I am a happy recipient of many of her plants) so am looking forward to pickling them. Along with eggplant, which is my most favorite and your recipe is spot on for that one too. Again, thanks Nadia for keeping traditions alive.
Nadia
How nice that your daughter grows these peppers! My garden is quite small and I don't have space for planting these so I resort to purchasing them at our local farmer's market each year. Hope you enjoy them!
Elaine
These are absolutely delicious !! Thank you so very much for sharing 😊
Nadia
Elaine thank you very much for commenting, I’m thrilled to hear you enjoyed them!
Jack
Looks awesome. Will be making them this week.
Ps. I "blisters" a couple today with o olive oil and salt. Very tasty, made a peppers and egg "sangy". Yum
Nadia
Hi Jack, I hope you enjoy them. And I certainly do love a few pan blistered peppers with eggs, delicious!
Manon
Very good recipe. But you can’t process a jar filled with oil. How do you ou can these jars? You give instructions on how to process jars. But don’t mention what to fill them with instead of oil
Thank you
Nadia
Hello Manon, thank you for your comment. Please note that the recipe has been updated regarding storage methods. It is best to store in the refrigerator and use within 2-3 weeks once the jars are opened. Thank you!
Donna Dobrzynski
Delicious! Everyone really enjoys these peppers. I do take half of the seeds out otherwise, the peppers are very, very hot even for me and I like hot peppers.
Nadia
Thank you Donna, I'm so glad to hear that you enjoyed this recipe!
Elaine
How many lbs. Of peppers would I need please.
Nadia
Hi Elaine, you’ll need 4 1/2 pounds of peppers. Enjoy!
Elaine
Awesome, thank you !
Lois
Do the chillies stay crunchy after pickling or will they become mushy and soggy
Nadia
Hello Lois, yes in fact they do. That is why my mom always carefully selects the green chillies as she claims that the red ones tend to be softer.
Gary
Could chopped, small green tomatoes be added to the hot pepper mix? Could the entire mix be put thru a blender on a "light" setting?
Nadia
Hi Gary, yes in fact you could add some green tomatoes as the pickling process is the same. Regarding blending the mixture, that is an interesting question! Sounds almost like a relish to me. I have never tried this before and not certain what the outcome would be but if you do give it a try please let me know how it turns out, I'm curious!
Maria
Why the vinegar?
Nadia
Hello Maria, the vinegar in pickling vegetables is essential in order to preserve them for long periods of time and make sure they do not spoil.
Liz
Hi does olive oil work in this recipe? Mine are ready to be jarred today.
Nadia
Hi Liz, I don't use olive oil because when you refrigerate them after opening the jar the olive oil tends to congeal. When the peppers come to room temperature the oil will liquify again. So you definitely can if you prefer but I chose to stick to vegetable oil. Hope this helps!
Bob
You never name the variety or type of pepper....why ?
Nadia
Hi Bob, good question! At the local market where we purchase our peppers they are not identified with a specific name. Simply hot peppers, but upon further research of my own I can tell you that these long, thin, twisted shaped peppers are commonly referred to as long hots or also Italian long hots. I'll add this info to my post and thanks for your question!
Anna Bucciarelli
Easy enough and I will definitely give this a try. Certainly we can find pickled peppers on the shelves of supermarkets, both sweet and hot, but there is nothing more satisfying than home made. I expect I just may use a bit more garlic; otherwise I think your recipe is perfect as is. Thank you Nadia.
Nadia
Hello Anna, yes indeed it is much easier than I thought as well! And you're right, store shelves are filled with all varieties of pickled vegetables but somehow their not the same and then there's the satisfaction at having made them ourselves! Of course you can definitely add as much garlic as you like. Enjoy!