Make your own fresh Homemade Ricotta in 3 simple steps and about half an hour to enjoy in your favorite recipes!
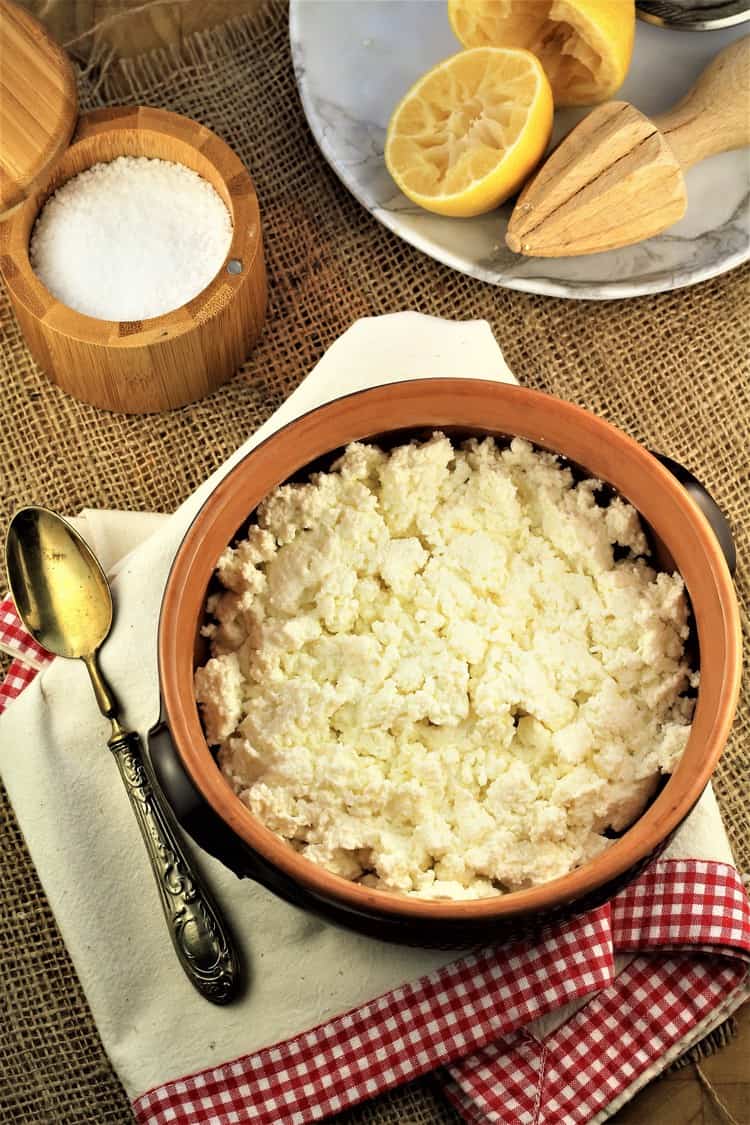 Have you ever ricotta cheese at home? There's really nothing like homemade and making ricotta at home could not be any easier! It really is about time I made my own, after all, most of my favorite dishes all include ricotta. You can scroll down to the bottom of this post for links to some of my favorite recipes.
But before I proceed to this simple recipe, I'd like to share with you how my mother made ricotta!
How my mother made ricotta:
I sat down with my mother this past weekend to ask her about how she made her fresh ricotta. Although she made it on a regular basis when I was a child, you can imagine I was not at all interested in such things. The process is not at all what I imagined!
I recall not looking forward to those trips to the country side to visit a dairy farmer for gallons of raw milk. I wonder if that's even legal nowadays? But that's what we did on Sunday afternoons, especially during the fall. When we returned home my mother made huge a huge pot full of ricotta. Afterward my father would sit down to a large bowl of whey with little clouds of ricotta floating in it. I can still hear him sipping that whey!
Making cheese with rennet tablets:
What I found out is that my mother used rennet tablets for the first boiling of the milk in order to make cheese. Have you heard of rennet tablets? They contain enzymes which allow the milk to coagulate in order to make fresh cheese. If you're curious about this process, you can read more about this here.
The liquid that's left behind once the fresh cheese curds are removed from the pot is called whey. After the curds were removed from the pot, she added additional milk to the whey, brought it back to a gentle boil, and then added freshly squeezed lemon juice to make ricotta.
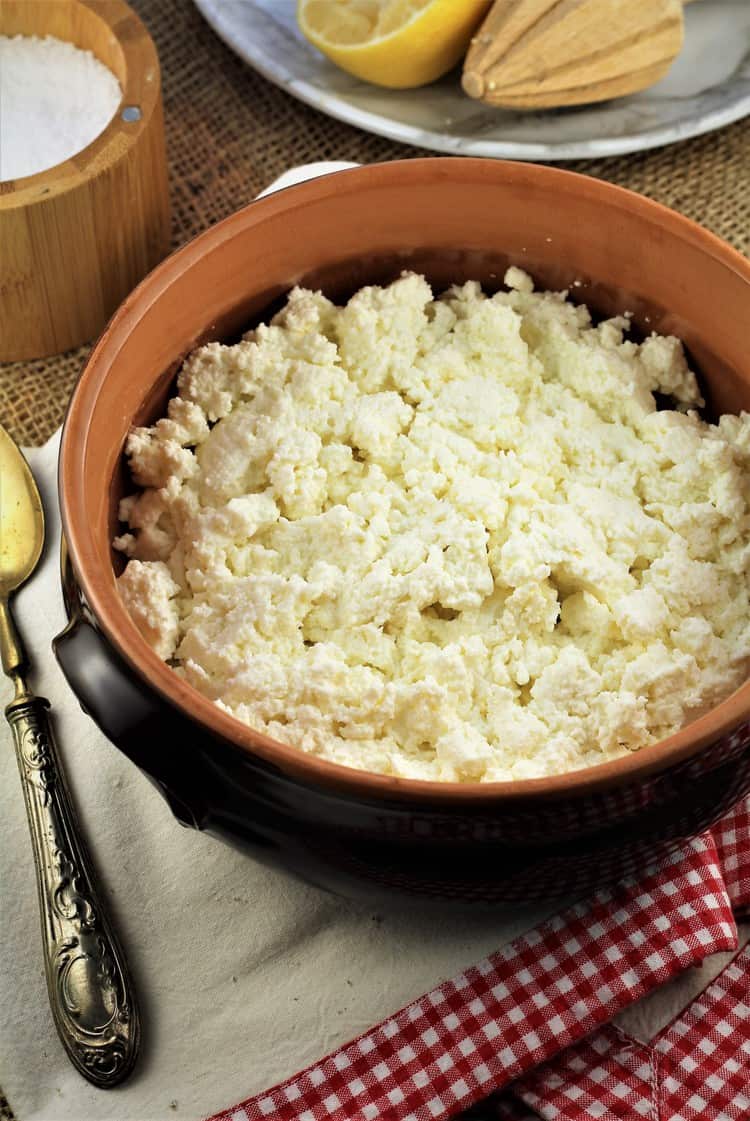
How my nonna made ricotta in Sicily:
The most surprising thing I learned is that my nonna made homemade ricotta cheese by tossing a piece of fig branch into her milk in order to make it coagulate! Apparently the sap found inside the fig branch acts as a coagulant very much the same way as rennet does. I immediately began researching this and found others that have tried it and documented it here.
This was quite an eye opener of a discussion! Some day I'd like to get my hands on a fig branch in order to try this method! But until then, I'm going to share with you an easy ricotta recipe that you make any time with 3 simple ingredients that are always available.
Step by Step Instructions:
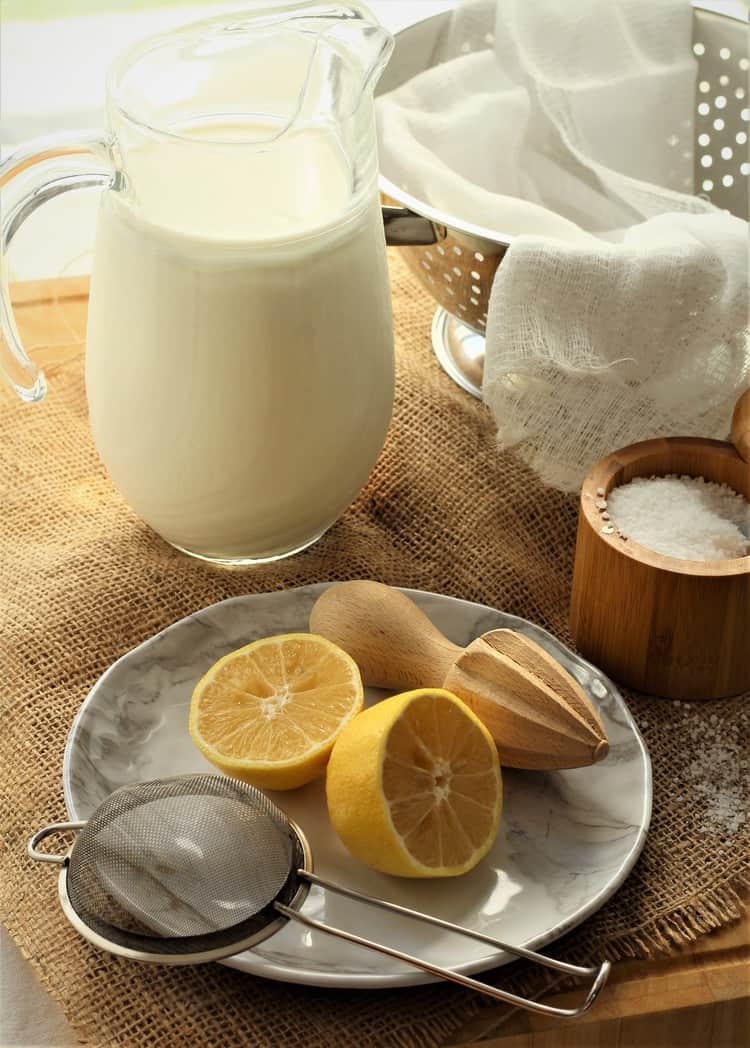
Here are the ingredients you'll need: whole milk, freshly squeezed lemon juice and salt. As for equipment: a large pot and a colander lined with cheese cloth.
The following are step by step images with explanation but you can find the detailed printable recipe with measurements at the bottom of this post. This recipe will yield a little over 2 cups of ricotta.
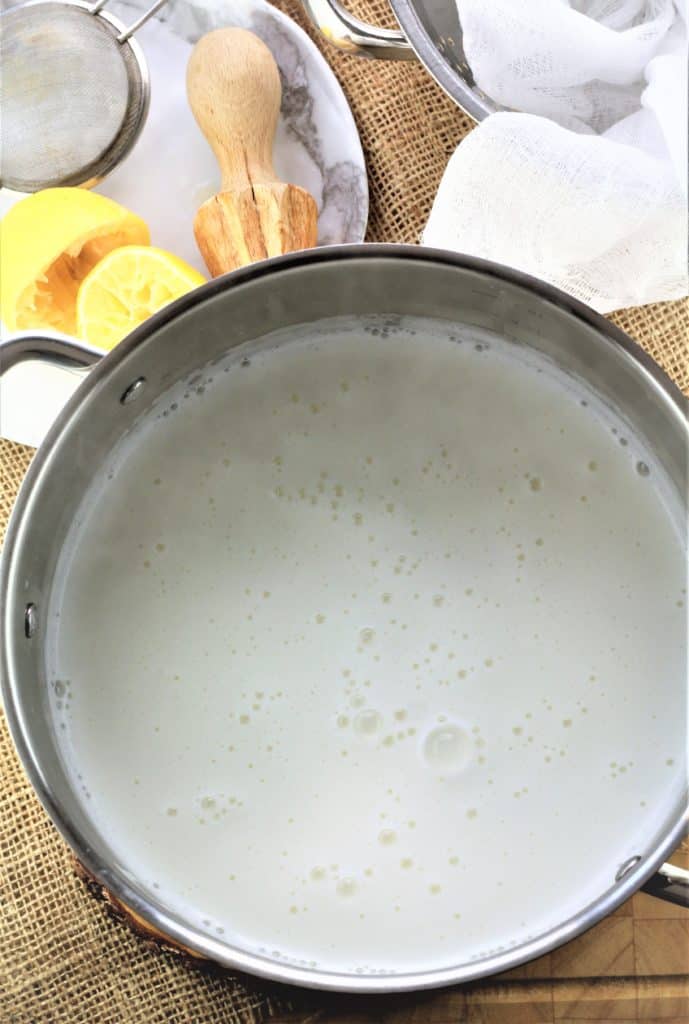
In a large, heavy bottomed pot, slowly heat whole milk and teaspoon salt on medium high heat. Heat until you have a gentle boil, that is until steam appears on the surface of the milk and it begins to bubble as shown. You can also use a thermometer to verify when the milk reaches 190F. This will take about 10 minutes. Do not let the milk come to a full boil or it may scorch.
Remove from heat and stir in freshly squeezed lemon juice. You don't need to stir it very much and you'll notice the milk will immediately begin to curdle.
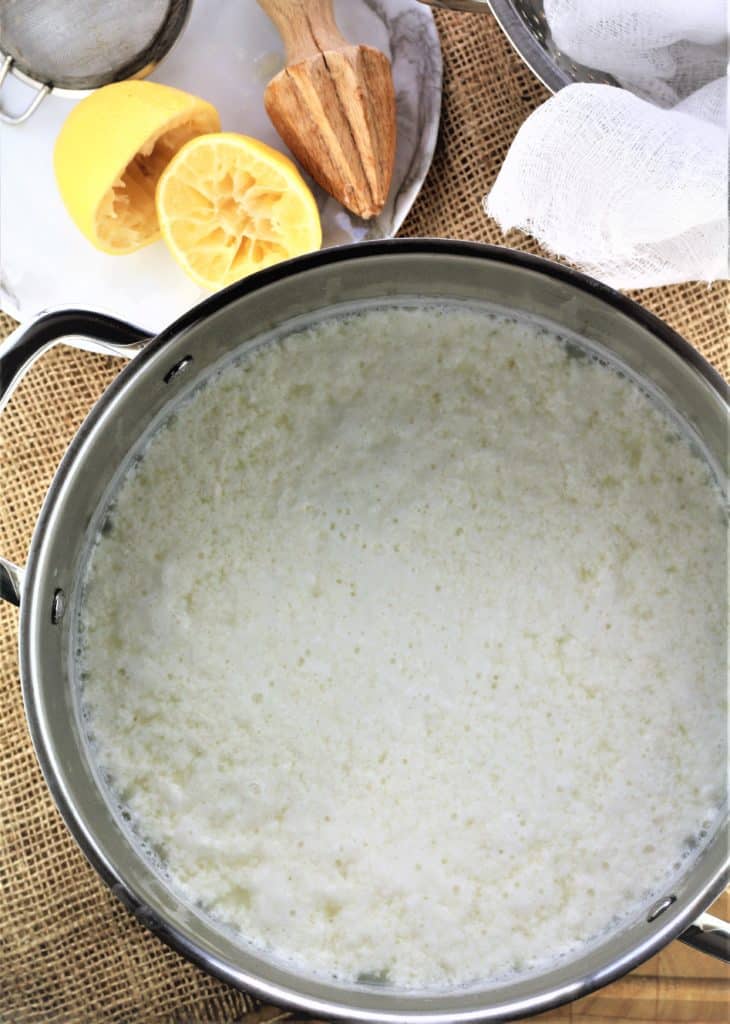 Let sit for 10 minutes. The milk will continue curdling and thicken as it separates from the whey, as shown below.
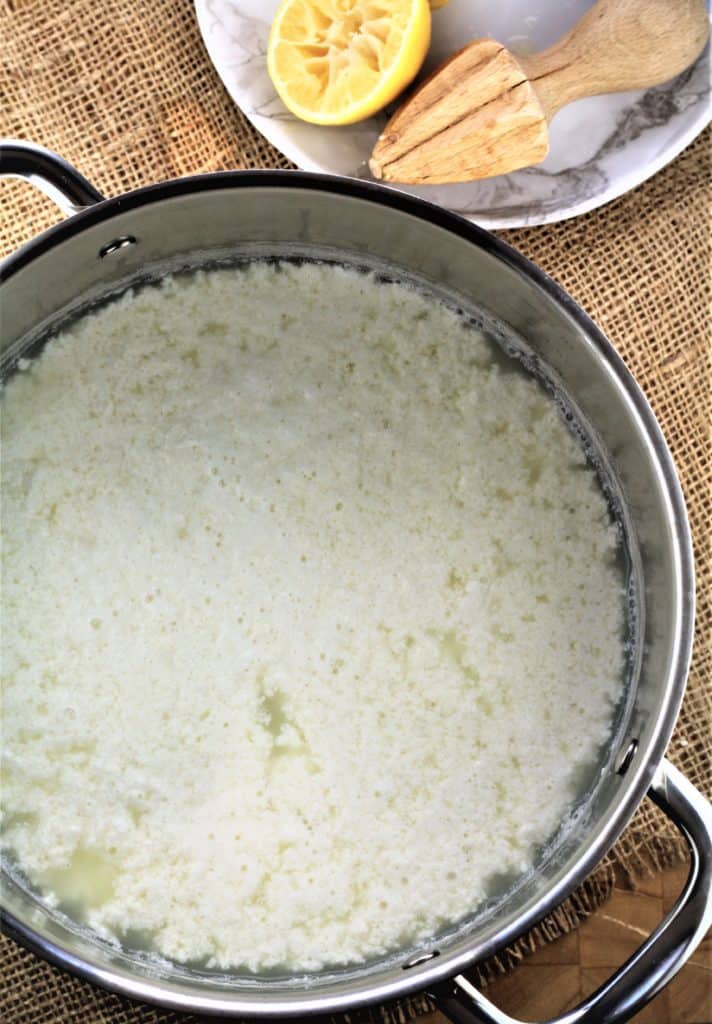
How to drain ricotta:
Pour the mixture into your prepared colander lined with cheese cloth and place over a large, deep bowl to catch the whey.
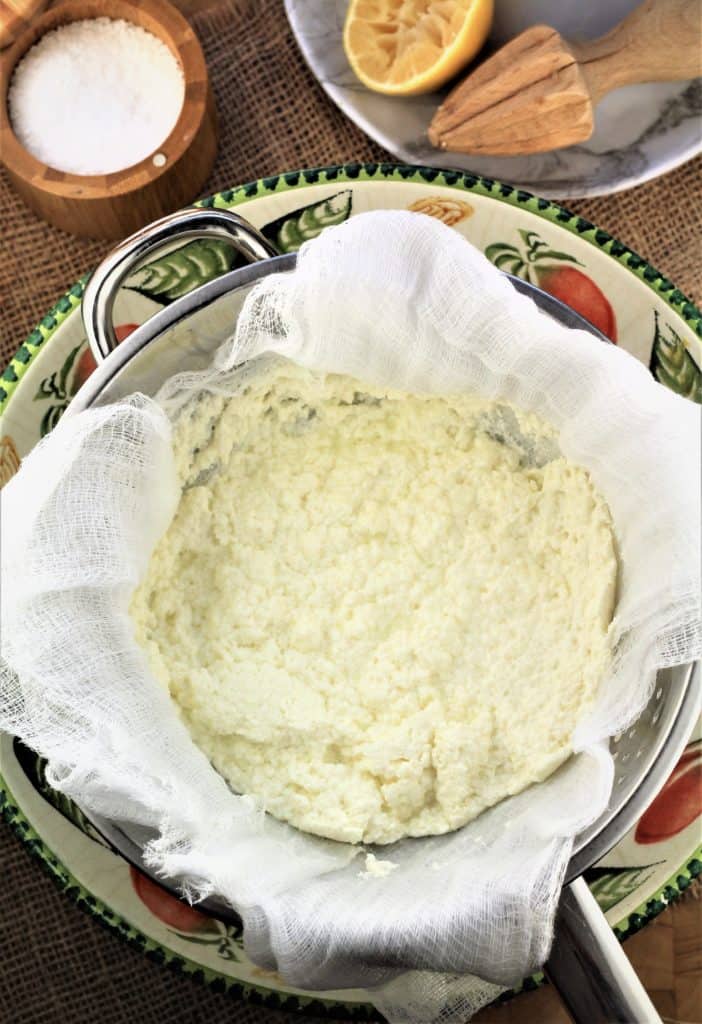
The amount of time you let it drain will depend on the texture of ricotta you are looking for. For looser, wetter ricotta that's perfect for Pasta with Ricotta, drain for about 10 minutes.
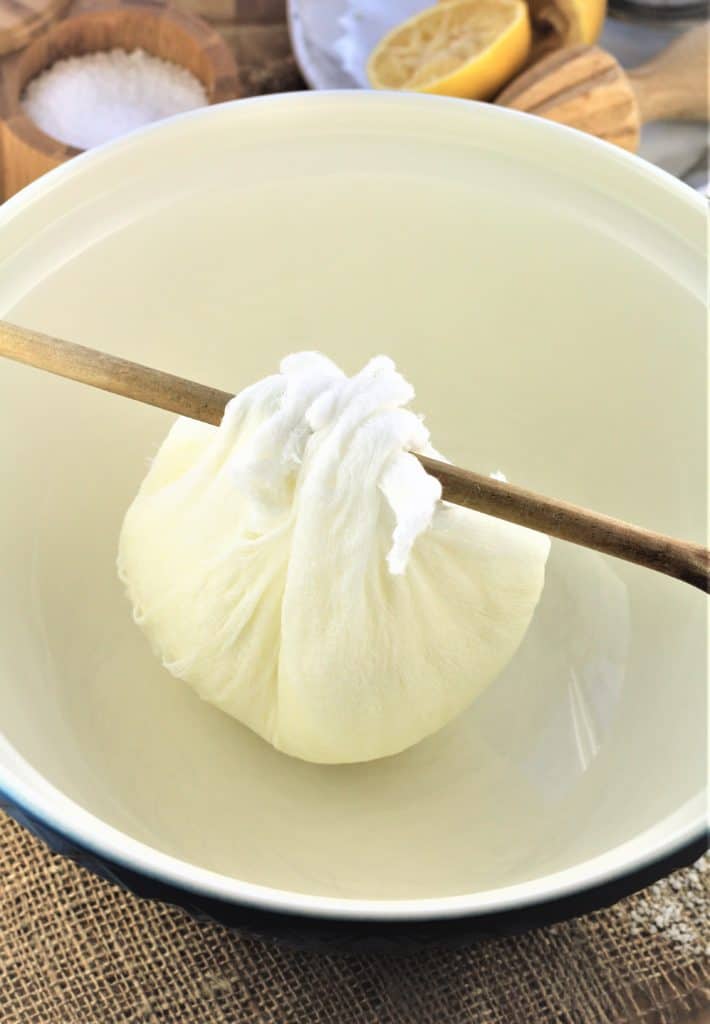
For a drier, thicker ricotta for making cannoli, for example, here's what you can do:
- Tie the ends of the cheese cloth around a wooden spoon.
-
Hang over a deep bowl (to ensure the bottom of the bundle does not reach the bottom of the bowl) and drain for about an hour.
 Tips and suggestions for making homemade ricotta:
- Use whole milk for making ricotta as you need the fat in the milk in order to separate into curds and whey.
- An equal amount of white vinegar may be substituted for the lemon juice in order to curdle the milk.
- Do not throw out the whey. It contains lots of protein and can be used in so many ways including replacing the liquid in bread or pizza with whey. Here's a helpful post filled with suggestions on what to do with whey.
- Store ricotta in your refrigerator for up to 3 days.
Recipes for enjoying your homemade ricotta!
You can enjoy as is or spread it on a slice of fresh bread for an easy breakfast or quick snack. If you'll be cooking with it, here are a few of my favorite dishes!
To satisfy your sweet tooth:
- Sicilian Cannoli with Ricotta Filling
- Mom's Sicilian Ricotta Pie
- Sweet Ricotta Easter Calzone
- Sicilian Cassatelle with Ricotta
Or in savory dishes such as:
- Pasta with Ricotta
- Mortadella, Ricotta and Pistachio Pesto Pizza
- Spiralized Zucchini Ricotta 'Meatballs'
Let me know how your ricotta turns out by sharing your photos with me! Tag me with @mangiabedda or #mangiabedda on Facebook or Instagram. Feel free to pin the recipe for later. Buon appetito!

Homemade Ricotta Recipe
Ingredients
- 8 cups whole milk 2 litres
- 1 teaspoon salt
- 4 tablespoon lemon juice freshly squeezed
Instructions
- Prepare a colander by lining it with cheese cloth. Set aside.
- In a large, heavy bottomed pot, slowly heat whole milk and 1 teaspoon salt on medium high heat. Heat until you have a gentle boil, that is until steam appears on the surface of the milk and it begins to bubble. Use a thermometer to verify when the milk reaches 190F. This will take about 10 minutes. Do not let the milk come to a full boil or it may scorch.
- Remove from heat and stir in freshly squeezed lemon juice. You don't need to stir it very much and you'll notice the milk will immediately begin to curdle.
- Let sit for 10 minutes. The milk will continue curdling and thicken as it separates from the whey.
- Pour the mixture into your prepared colander lined with cheese cloth and placed over a large, deep bowl to catch the whey.
- The amount of time you let it drain will depend on the texture of ricotta you are looking for. For looser, wetter ricotta that's perfect for Pasta with Ricotta, drain for about 10 minutes. For a drier, thicker ricotta which is perfect for making cannoli: tie the ends of the cheese cloth around a wooden spoon.Hang over a deep bowl (to ensure the bottom of the bundle does not reach the bottom of the bowl) and drain for about an hour.
- Keep refrigerator in a well sealed container for up to 3 days.
Notes
- Use whole milk for making ricotta as you need the fat in the milk in order to separate into curds and whey.
- Equal amount of white vinegar may be substituted for the lemon juice in order to curdle the milk.
- Do not throw out the whey. It contains lots of protein and can be used in so many ways.
- Store ricotta in your refrigerator for up to 3 days.


 Tips and suggestions for making homemade ricotta:


Jamie Lawrence
Brilliant simple recipe, can't wait to try it out! We have bought home Canoli shells from Sicily so we are going to make your Ricotta Filling and give these as gifts to our family and friends!
What recipes do you have for the left over whey?
Nadia
Hi Jamie, that sounds wonderful, I'm sure they will enjoy them! And great question about the whey. What I always do with my leftover whey is use it in place of water when I make bread or pizza. It gives the dough a wonderful slightly chewy texture. If you don't plan on using it right away you can also freeze it. Hope you give it a try!
Kathy
Just finished making a double batch of this. It comes together quite quickly. Excellent recipe! Thank You!
Nadia
You're welcome Kathy, so glad you enjoyed it!
Rita
Love your recipes Nadia!
Remind me of Nonna’s and Mom’s recipes.
Do you have a recipe for the dry type of ricotta salata used in the Messina area, that is dried in a low oven for a long time and the grated over pasta?
I was thinking to salt a round of drained ricotta and put it into a 150C. Oven for several hours? Hopefully it would dry firm. Any ideas appreciated!
My Dad used to make it but I never really paid attention to how exactly it was done! Sadly he has passed and now no one to ask.
Nadia
Hello Rita and thank you for your kind comment! I have not made the dried baked ricotta unfortunately but I do recall my mom used to make it. I think you're definitely on the right track with what you suggested. I'll have to consult my cousin in Sicily about this one and get a recipe, it's on my to do list! Meanwhile, if your technique works please do let me know. Thanks!
Samantha
can I freeze it if I don't use it all in three days?
Nadia
Hi Samantha, although I have never done so myself I have heard that ricotta can be frozen. I do not recommend it because the texture will not be the same once defrosted. That is why I usually don't make a large batch. A simple way to enjoy it if you have leftovers is spread on crostini as a snack. It can be savory, topped with fresh herbs or even roasted cherry tomatoes. Or for a sweet version stir in some sugar and cinnamon or even a drizzle of honey. Hope this helps!
donna mauerhan
Please send me more of your delicious recipes! 🙂
Nadia
Hello Donna, you can definitely sign up to receive my latest recipe posts by email. Just click on "Subscribe" on my homepage and enter your name and email. Thanks!
Pat Wolff
I tried this recipe and followed the direction exactly. But it was all milk. I didn't get any curds. Or very few. What could have gone wrong? I should have tried it again with the whey, but I dumped it out. Sigh....
Nadia
Hello Pat, I'm so sorry to hear it didn't turn out. Of course I wasn't there with you but I'm wondering if the milk reached the right temperature. When I put in my lemon juice it began to curdle right away and then more when it sat for a few minutes. I hope this helps and once again I'm sorry it did not turn out right.
Pat Wolff
I tried it again today and it came out PERFECT!!! I think the milk wasn't hot enough just like you said. It started curdling right away today. And, actually, once the batch from yesterday was refrigerated for a bit it was super yummy. Creamy, with small curds, but tasty. My husband ate it all up!!! Today larger curds and bigger quantity. Will be making this often. Thank you!
Nadia
Hi Pat, I'm so glad it worked out and thanks for letting me know. Sometimes it takes a little practice!
Rosa rizk
Thank you Nadia
Always good recipes and great idea
Nadia
Thank you Rosa, your support is always appreciated!
Annie
Oh thank you for this!! I cannot get ricotta easily where I live unless I drive to a specific store so far away from me! I cannot wait to explore and make my own ricotta too! Congratulaciones for a brilliant brilliant post!!!!!!!!!! Bravo!!
Nadia
Hello Annie, you're very welcome! It's too bad that you can't get ricotta easily in your area but now you know that it's easier than you think to make your own. Hope you try it out and thanks for your comment!