These ciambelline di ricotta (ring cookies with ricotta) are lemony, soft and have a satisfying tender crumb. These are the not overly sweet cookies you'll want to enjoy with your coffee in the morning or mid-day snack!
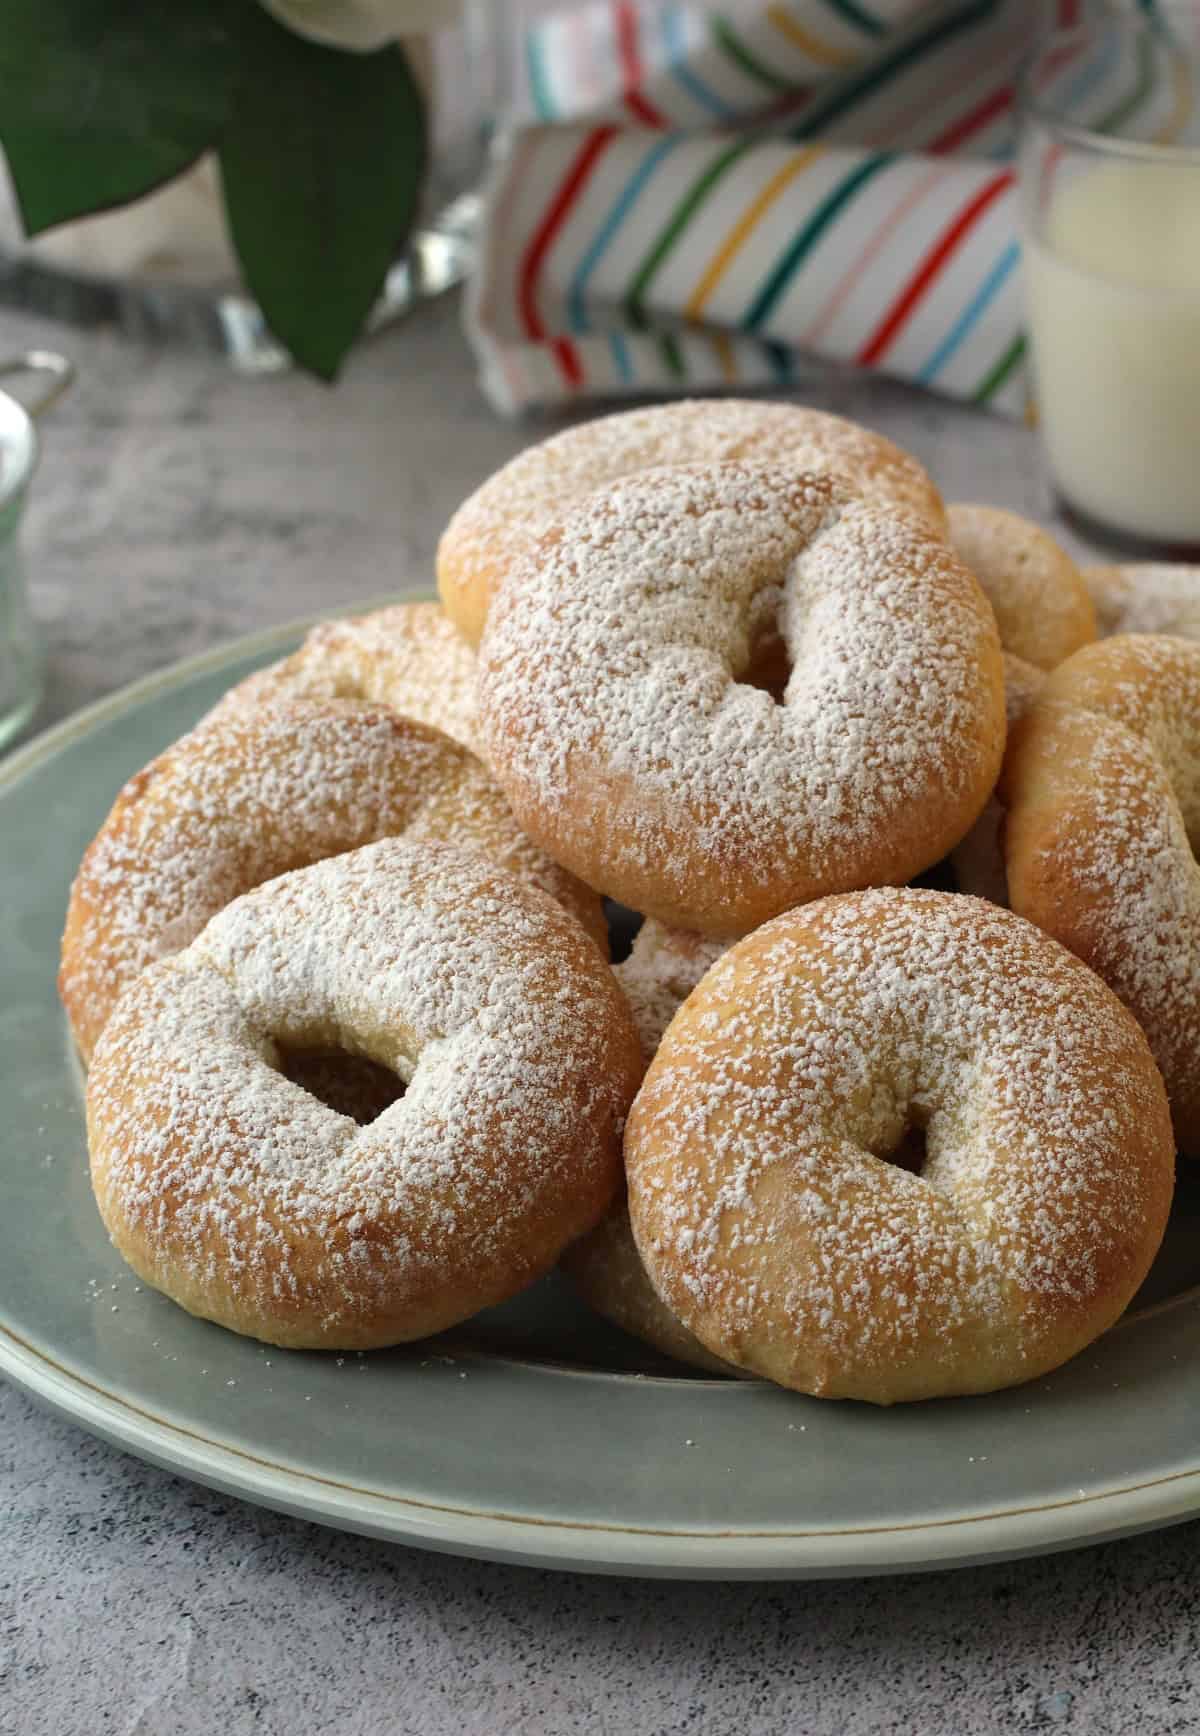
When these lemon infused, soft ricotta ciambelline cookies come out of the oven, all golden and puffed up, it will be incredibly hard to resist eating one before they cool!
Ciambella, means ring in Italian, and these ciambelline, or small rings, are the cookies you'll want on hand when you're craving a little something sweet to enjoy with your coffee in the morning, as a mid-afternoon snack or basically any time of day!
Here's why you'll want to try this ricotta ciambelline recipe!
There are no doubt tons of Italian ricotta cookie recipes available out there but here's why I know you'll love these:
- This is an easy, one bowl recipe. No need to cream sugar and butter first, simply stir all ingredients together.
- They are made with very little fat, only 2 tbsp. of butter.
- Shaping these ring cookies couldn't be any easier, in fact the process is quite similar to making gnocchi (check out my tips below).
- They have a soft, almost doughnut-like texture, and unlike some ciambelline recipes, they are baked, not fried.
- Just sprinkle a little powdered sugar on top for extra sweetness and they are ready to serve.
Jump to:

Tips for preparing ciambelline dough with ricotta
The process of putting together the dough for these Italian ring cookies reminds me very much of my easy ricotta gnocchi recipe. And the ingredients are practically identical except, of course, for the sugar!
This means that handling the dough requires a light hand and does not call for vigourous kneading as you would for pizza or bread dough.
You want to add the minimum amount of flour in order to ensure a soft texture. The more you knead, the more moisture will be released (because of the ricotta) and the more flour you will want to add.
Therefore, knead gently until the ciambelline dough just comes together and lightly dust your work surface with flour when rolling the dough into logs.
Ingredient List
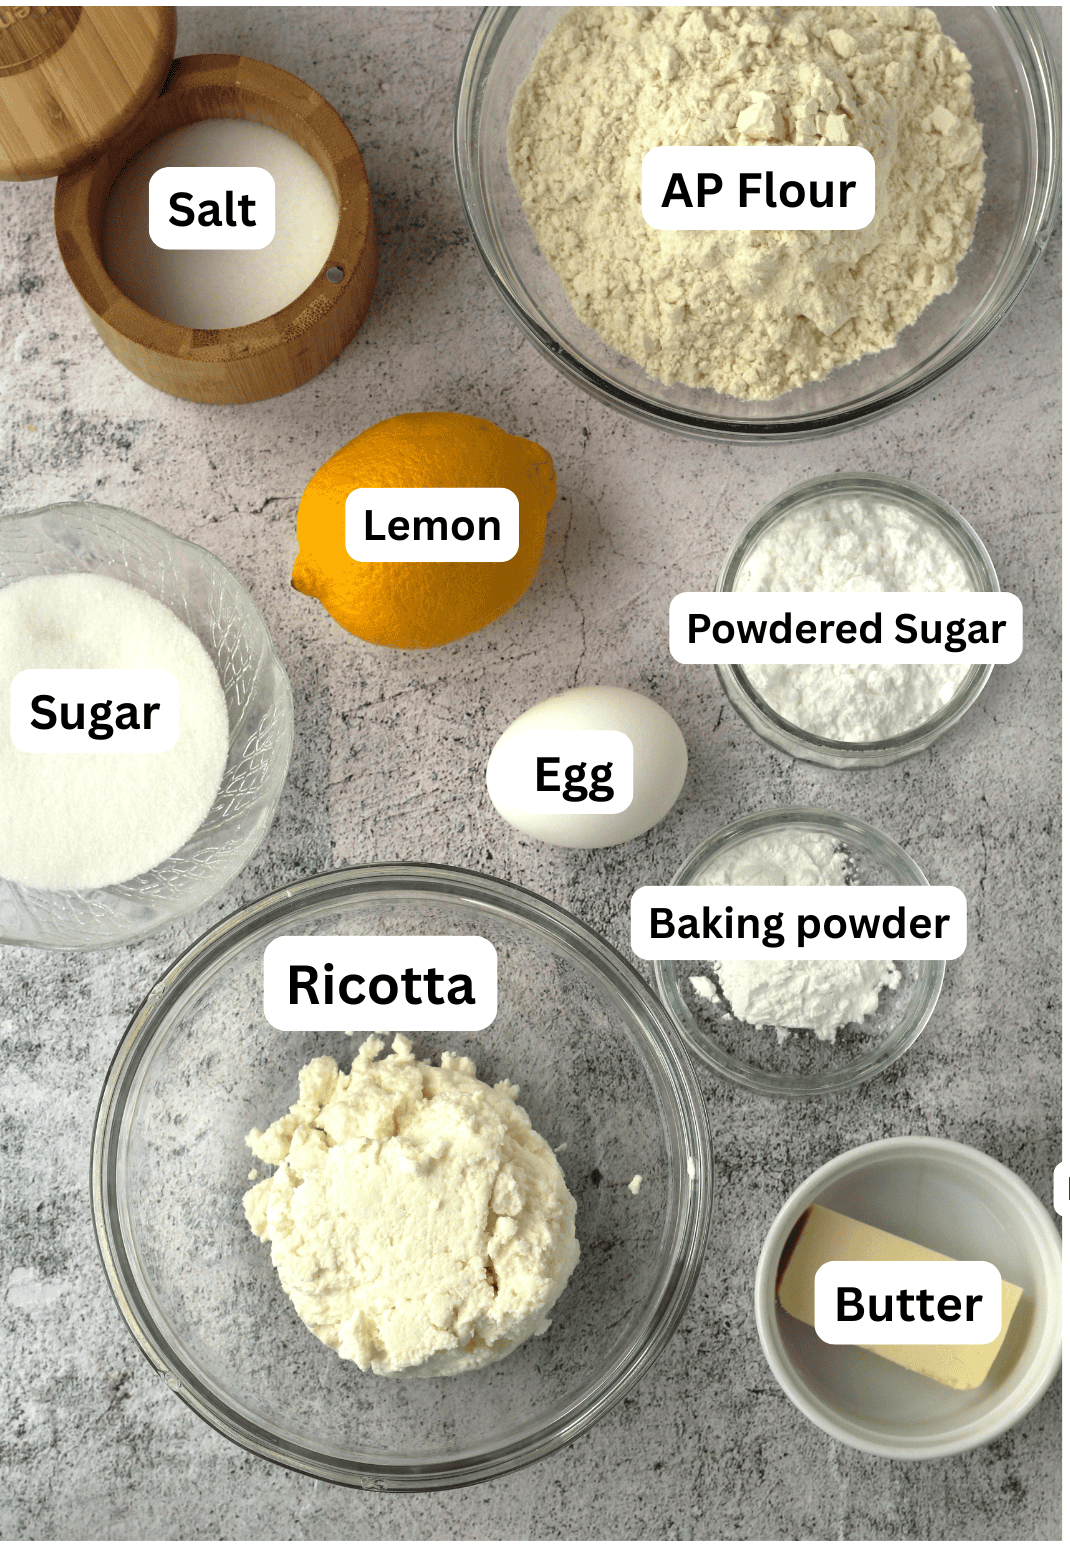
- Ricotta cheese: strained in the refrigerator for an hour or two to remove excess moisture
Substitutions and Variations
- Although I have yet to try this variation, I am tempted to stir in 1 teaspoon of anise seeds to this dough!
- Try adding 1 tsp. vanilla extract to the dough.
- If you are lactose intolerant, try this recipe with my dairy free ricotta cheese recipe
The following are step by step instructions with images to guide you through this recipe. Please scroll to the end of this post for the detailed printable recipe card.
How to make Ciambelline di Ricotta - Ricotta Ring Cookies
Prepare the dough

- Place the ricotta in a fine meshed sieve or colander lined with cheesecloth over a bowl and refrigerate for a minimum of one hour (up to 2 hours) to drain excess liquid. Preheat oven to 350 degrees F and have 2 baking sheets ready. Whisk together the drained ricotta, sugar and egg in a bowl until smooth.
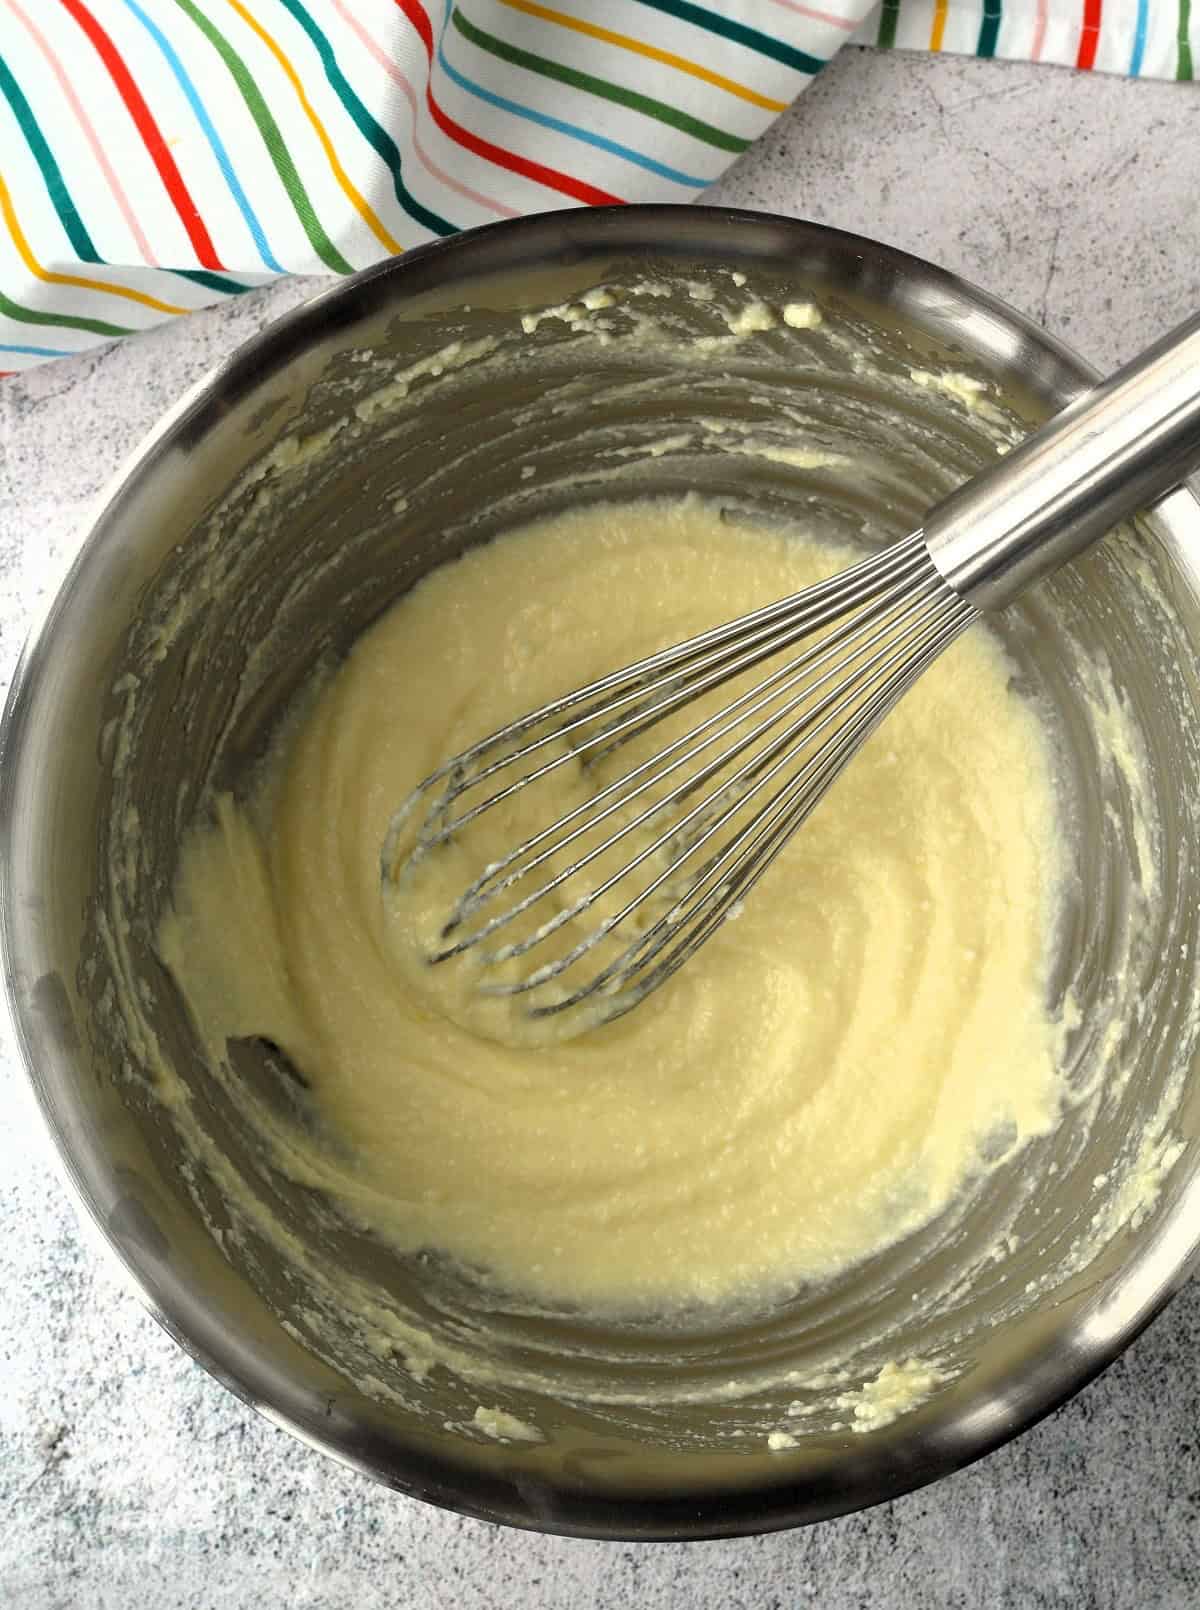
- Whisk in the melted butter until smooth.
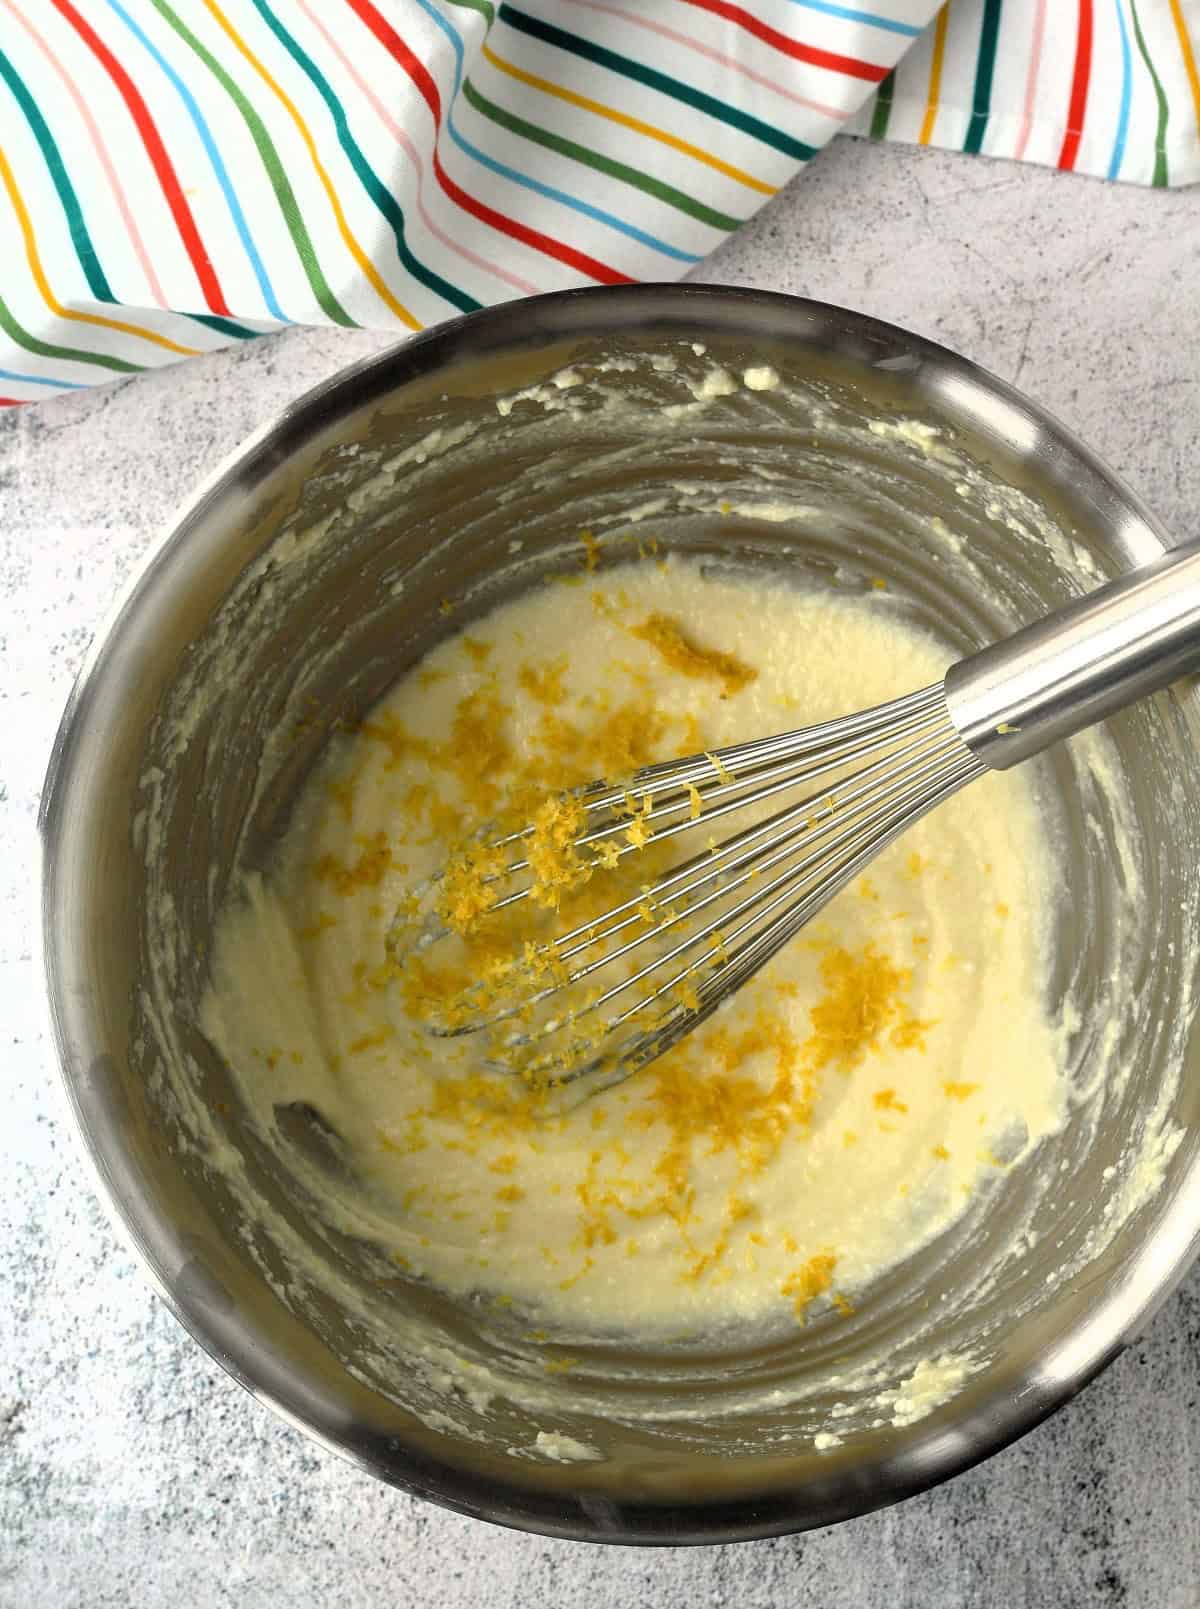
- Stir in the grated zest of 1 lemon.

- Combine 1 ¼ cups flour, baking powder and salt in a small bowl. Use a wooden spoon to combine the dry ingredients with the ricotta mixture until you have a shaggy dough.

- Turn out the dough onto a lightly floured surface and, using a light hand, knead until the dough comes together into smooth ball. If necessary, add a spoonful of flour at a time as needed to form a dough that is not sticky. Do not knead the dough vigourously as it will become increasingly moist and sticky and you want to avoid adding too much flour.
Shape into ciambelline and bake

- Divide the dough into 12 equal pieces, approximately 45 grams each. You may eyeball it rather than use a kitchen scale.
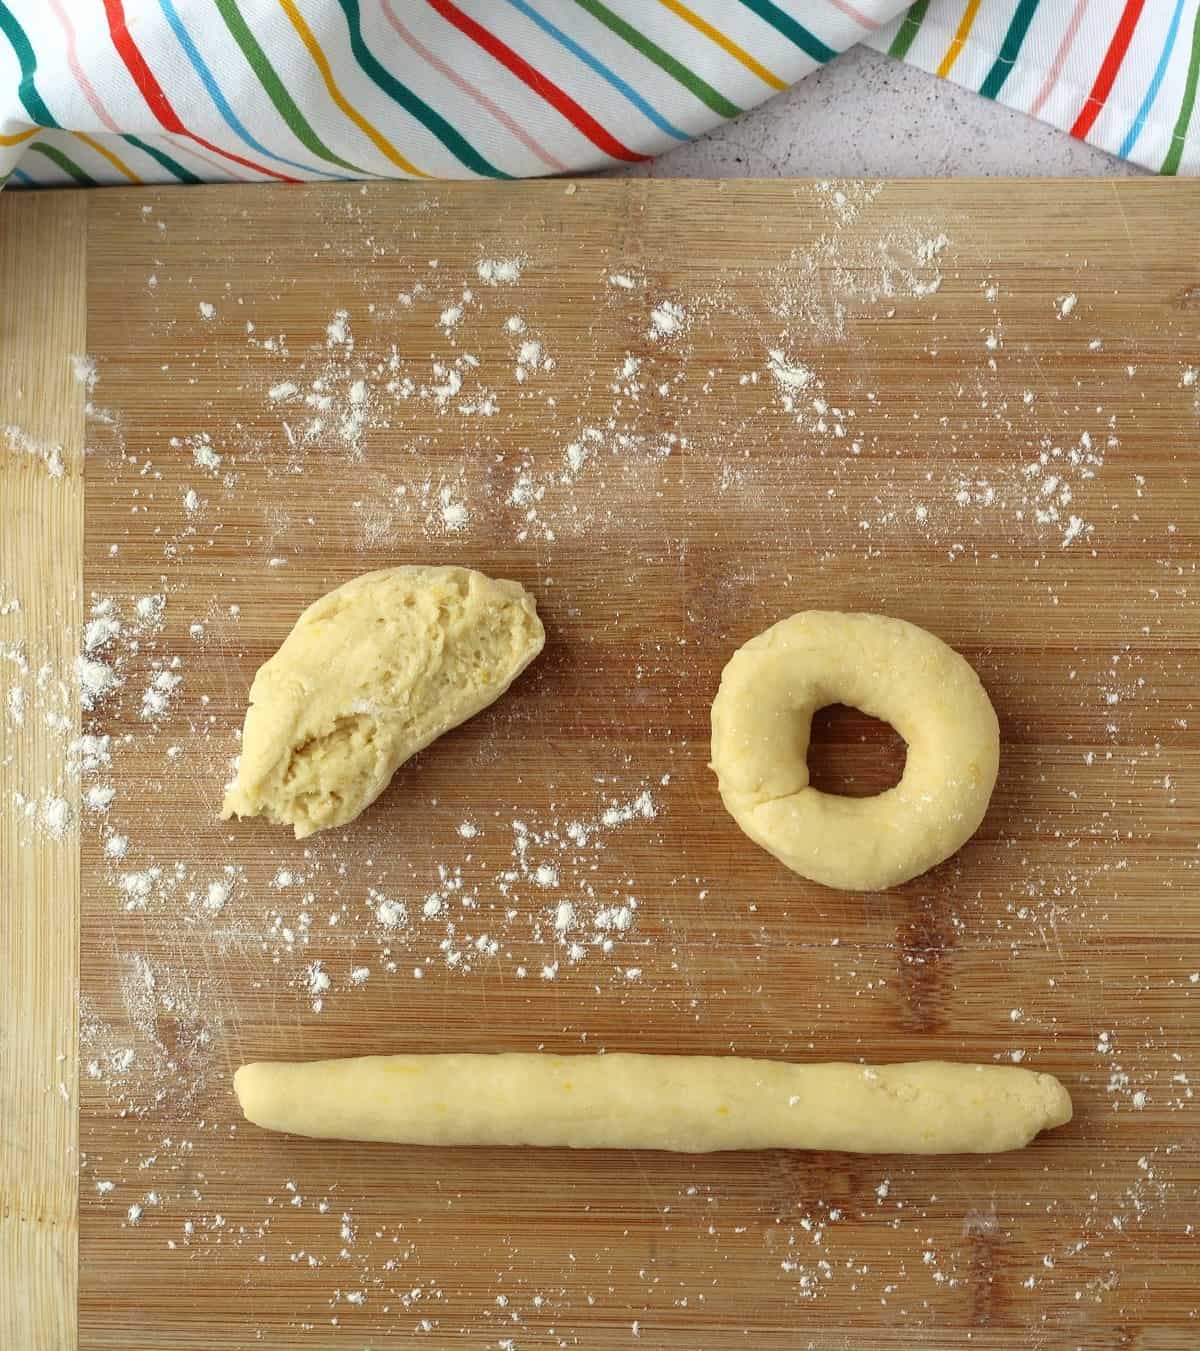
- Roll each piece of dough on your lightly floured work surface into a 6 inch rope. Pinch the ends together lightly, they will not unravel during baking, and place on the prepared baking sheets.

- Continue with the remaining pieces of dough.
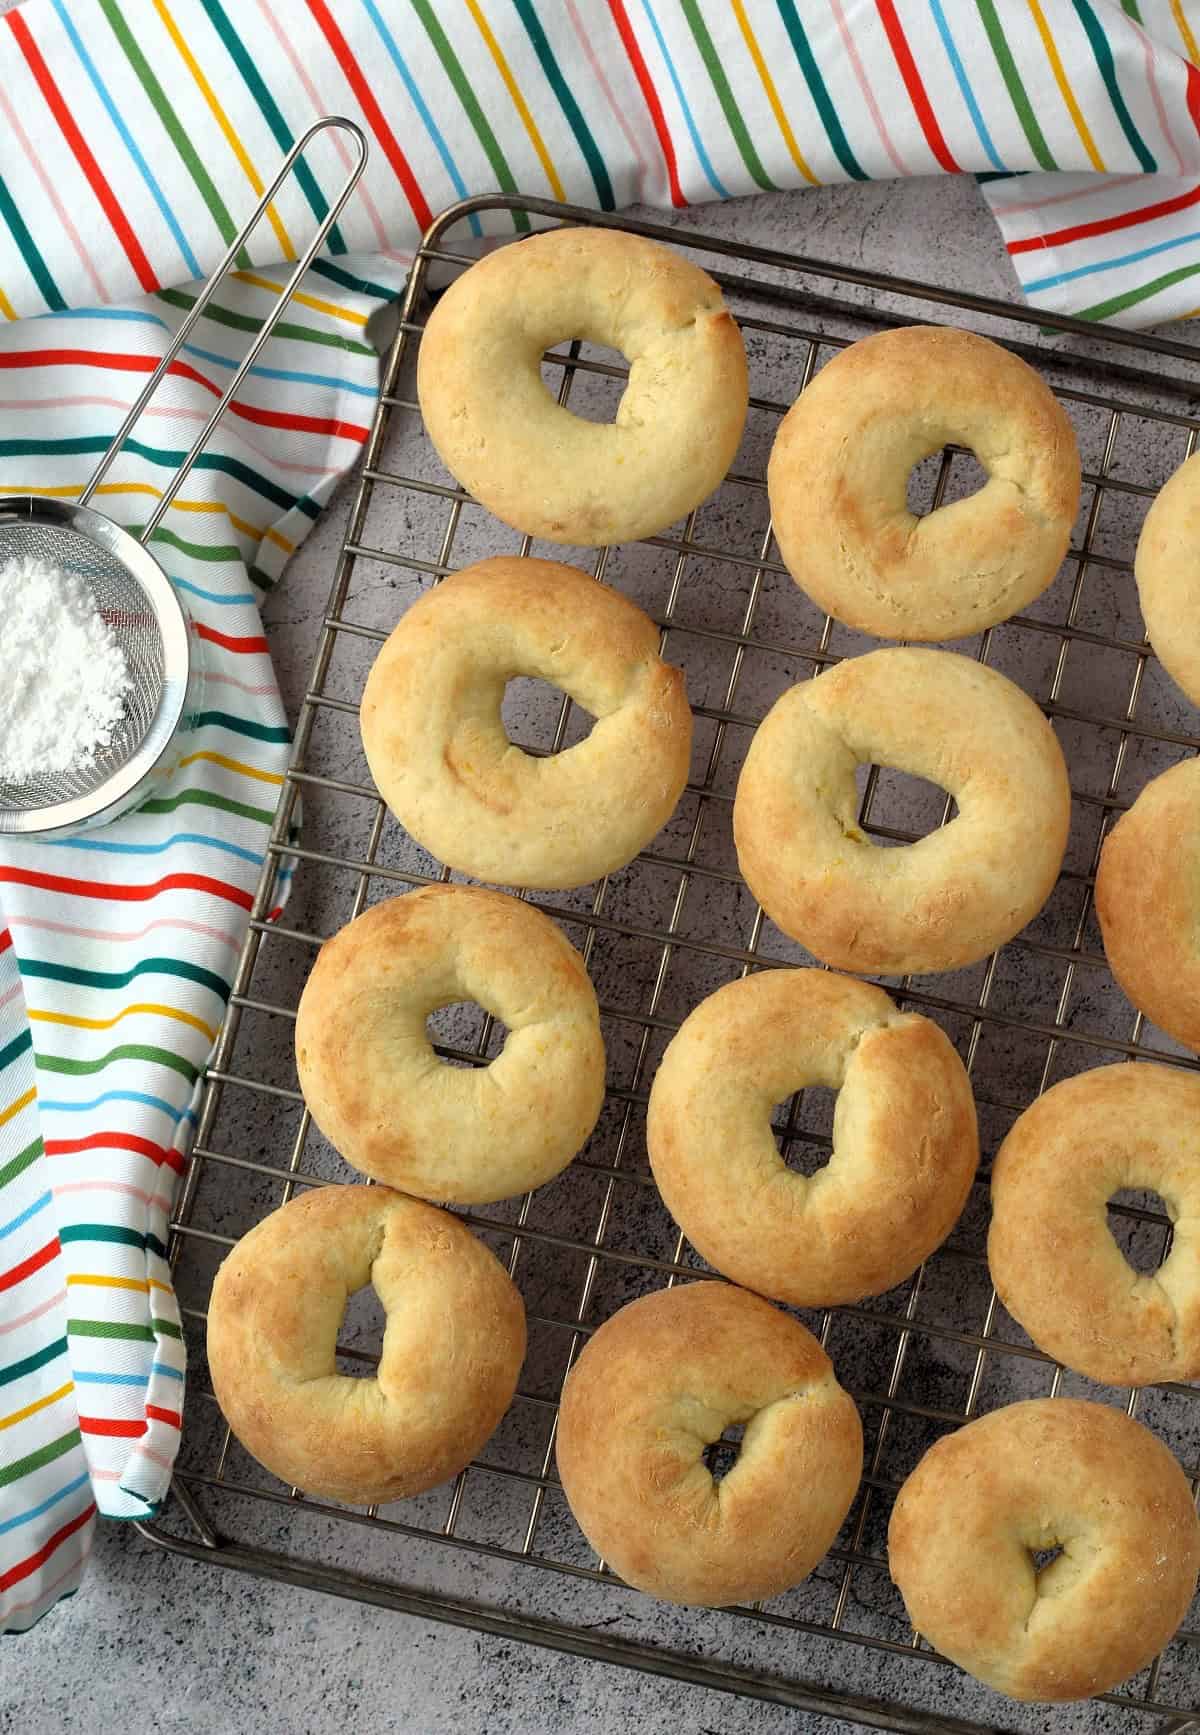
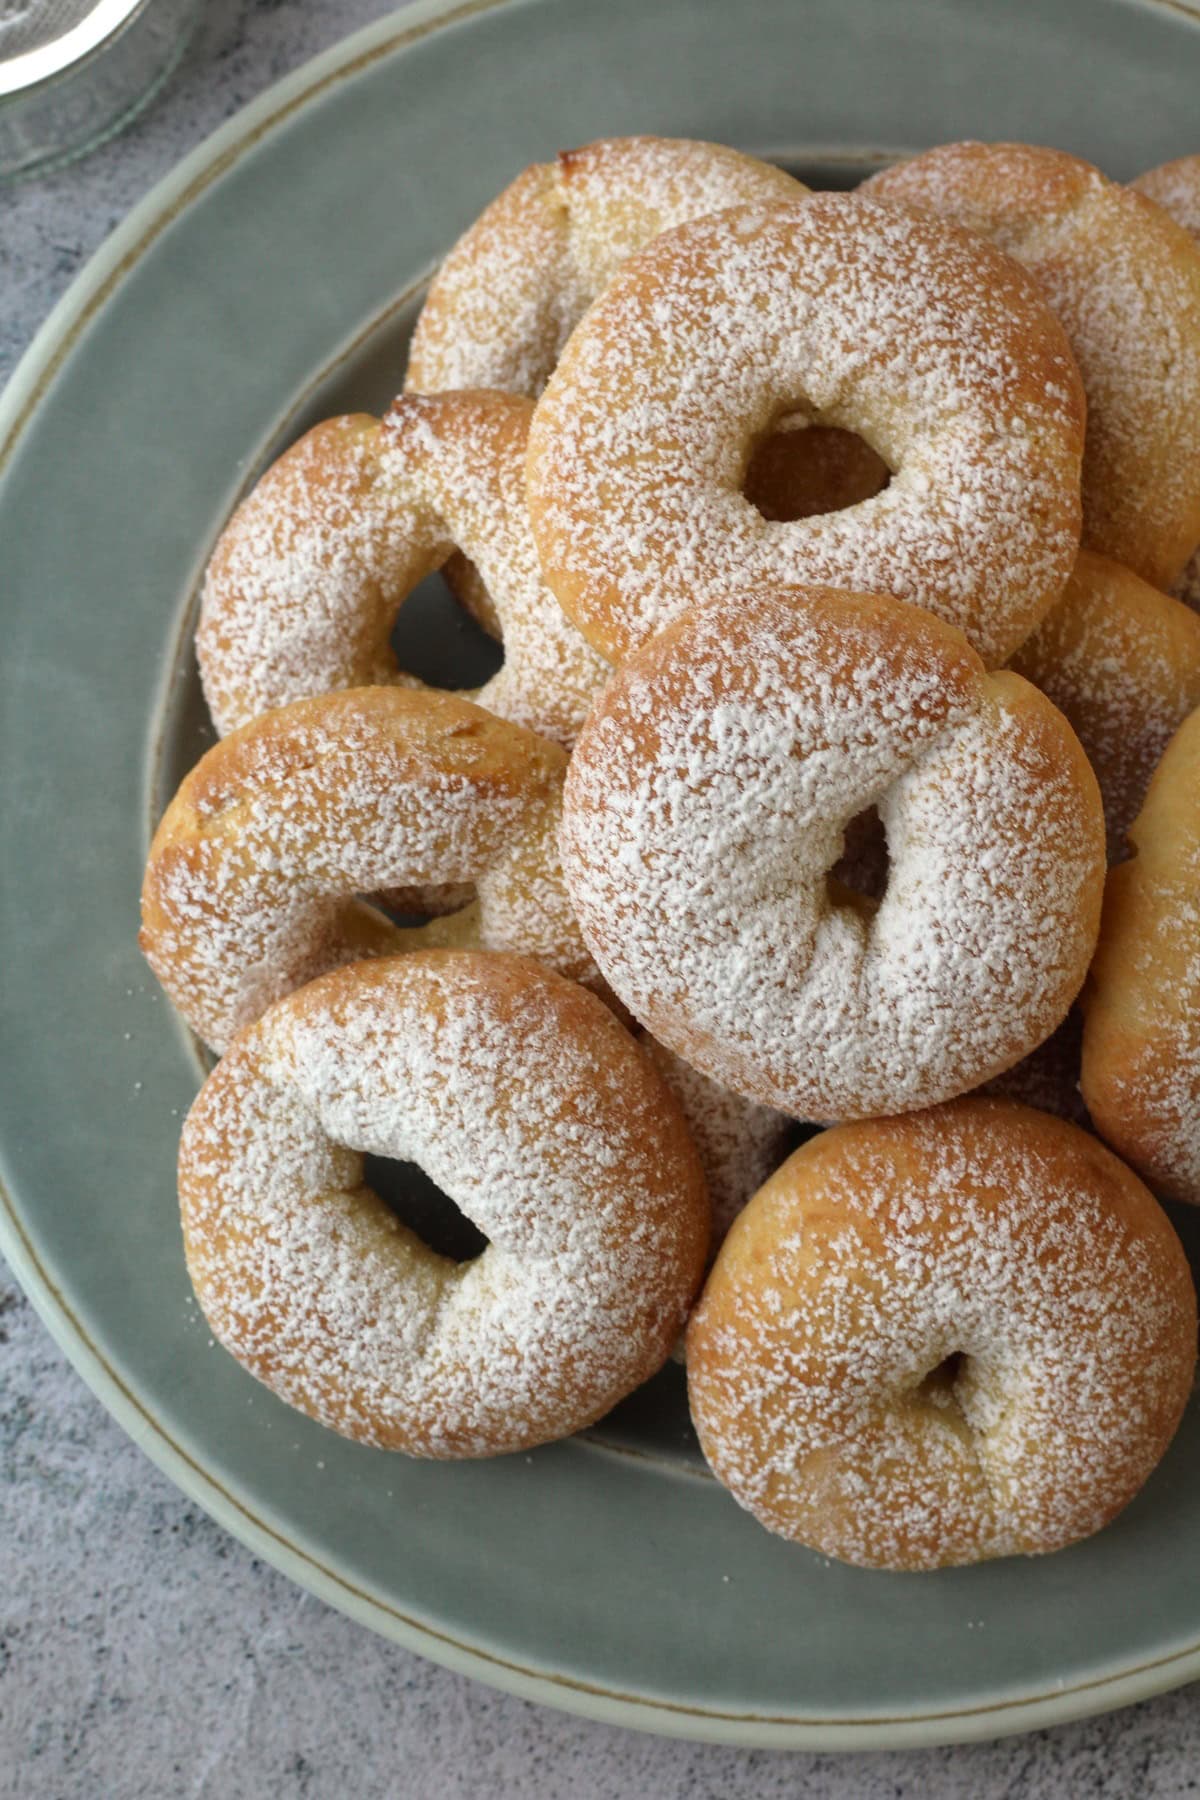
- Bake for 15-18 minutes until golden brown both on top and underneath.

- Dust cooked cookies with powdered sugar and serving.
Recipe FAQs
These cookies are best enjoyed the day they are made. However, leftovers will keep in a well sealed container at room temperature for up to 2 days.
If 12 cookies is too much for you to handle at once, you can freeze a few well wrapped in a freezer bag for up to 1 month. Defrost at room temperature and dust with powdered sugar before serving.
If you tried this Pesto alla Trapanese (Sicilian Pesto) recipe or any other recipe on my blog please leave a 🌟 star rating and let me know how much you enjoyed it in the 📝 comments below. Thanks for visiting!
More Italian cookie recipes!

Ciambelline di Ricotta - Ricotta Ring Cookies
Ingredients
- 1 cup ricotta cheese strained
- ⅓ cup granulated sugar
- 1 large egg
- 2 tablespoon butter melted
- 1 lemon zest from 1 lemon
- 1¼- 1½ cups all-purpose flour
- 2 teaspoon baking powder
- pinch salt
- 1 tablespoon powdered sugar for serving
Instructions
- Place the ricotta in a fine meshed sieve or colander lined with cheesecloth over a bowl and refrigerate for a minimum of one hour (up to 2 hours) to drain excess liquid.
- Preheat oven to 350 degrees F and line 2 baking sheets with parchment paper.
- Place drained ricotta, sugar and egg in a medium sized bowl. Whisk together until smooth.
- Whisk in the melted butter until smooth.
- Stir in the grated zest of 1 lemon.
- Stir together 1 ¼ cups flour, baking powder and salt in a small bowl. Use a wooden spoon to combine the dry ingredients with the ricotta mixture until you have a shaggy dough.
- Turn out the dough onto a lightly floured surface and, using a light hand, knead until you have a smooth dough. Shape into a ball. If necessary, add a spoonful of flour at a time as needed to form a dough that is not sticky.
- Do not knead the dough vigourously as it will become increasingly moist and sticky and you want to avoid adding too much flour.
- Divide the dough into 12 equal pieces, approximately 45 grams each. You may eyeball it rather than use a kitchen scale.
- Roll each piece of dough on your lightly floured work surface into a 6 inch rope. Pinch the ends together lightly, they will not unravel during baking, and place on the prepared baking sheets.
- Continue with the remaining pieces of dough.
- Bake for 15-18 minutes until golden brown both on top and underneath. .
- Transfer to a wire rack and let cool before dusting with powdered sugar and serving
Notes
-Try adding 1 tsp. vanilla extract to the dough. -If you are lactose intolerant, try this recipe with my dairy free ricotta cheese recipe! Storage These cookies are best enjoyed the day they are made. However, leftovers will keep in a well sealed container at room temperature for up to 2 days. To Freeze If 12 cookies is too much for you to handle at once, you can freeze a few well wrapped in a freezer bag for up to 1 month. Defrost at room temperature and dust with powdered sugar before serving.



Dan Chow
This was quick and easy to make. I found a ricotta that was already drained of most of its liquid, so that helped with the timing.
They came out light tasting, and they went nicely with coffee or tea. Nice treat.
Nadia
Hi Dan, so glad you enjoyed this easy recipe, indeed they are delightful cookies. Thank you for your comment!