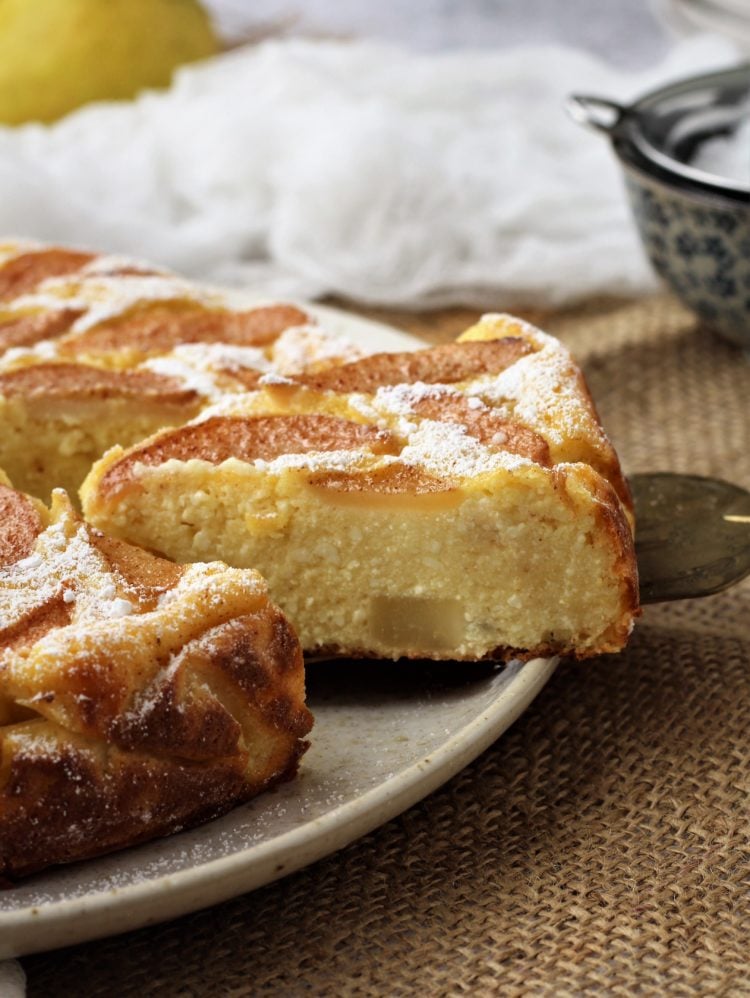
This easy no crust Italian pear and ricotta cheesecake is perfect enjoyed any time of day. This classic Italian style cheesecake is made without any cream cheese and has a light and creamy texture. I added pears, both stirred in the batter and on top, for extra sweetness and great texture!
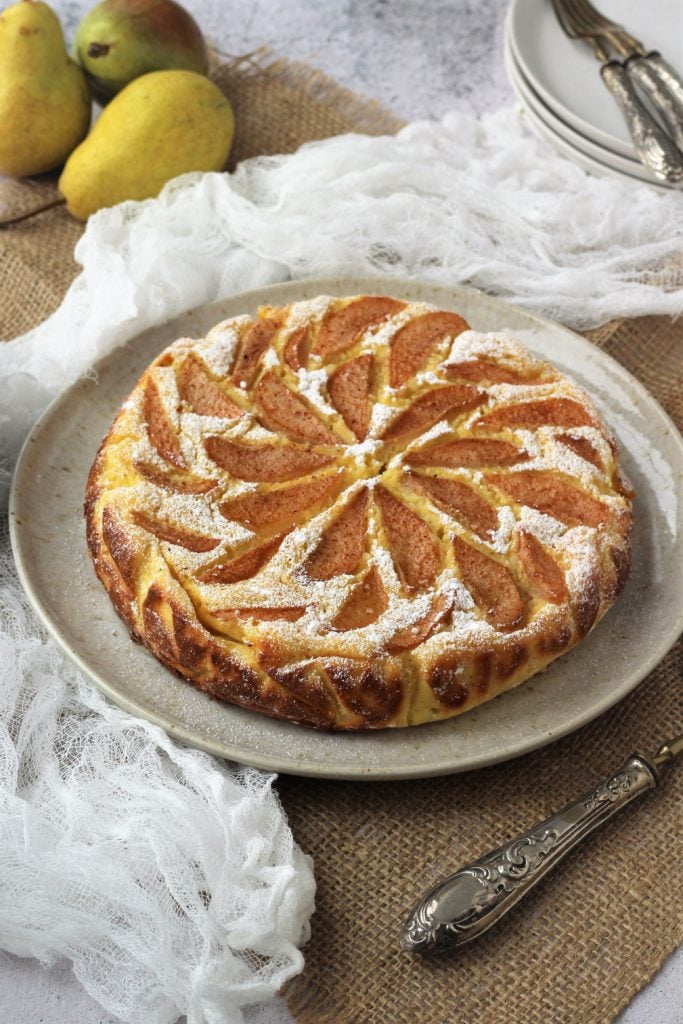
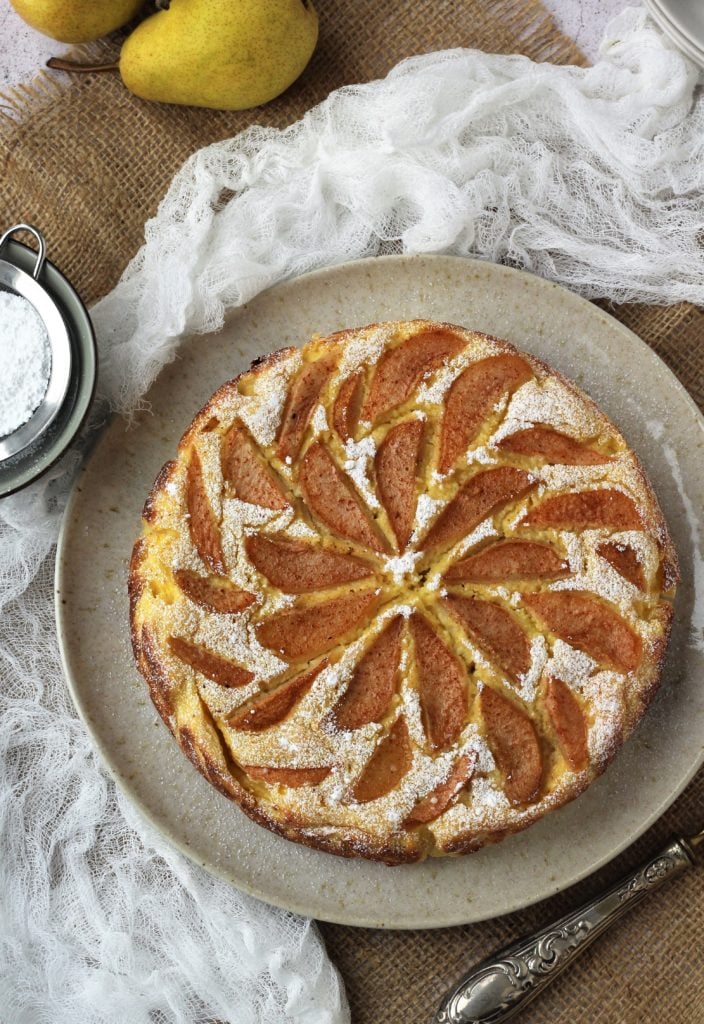
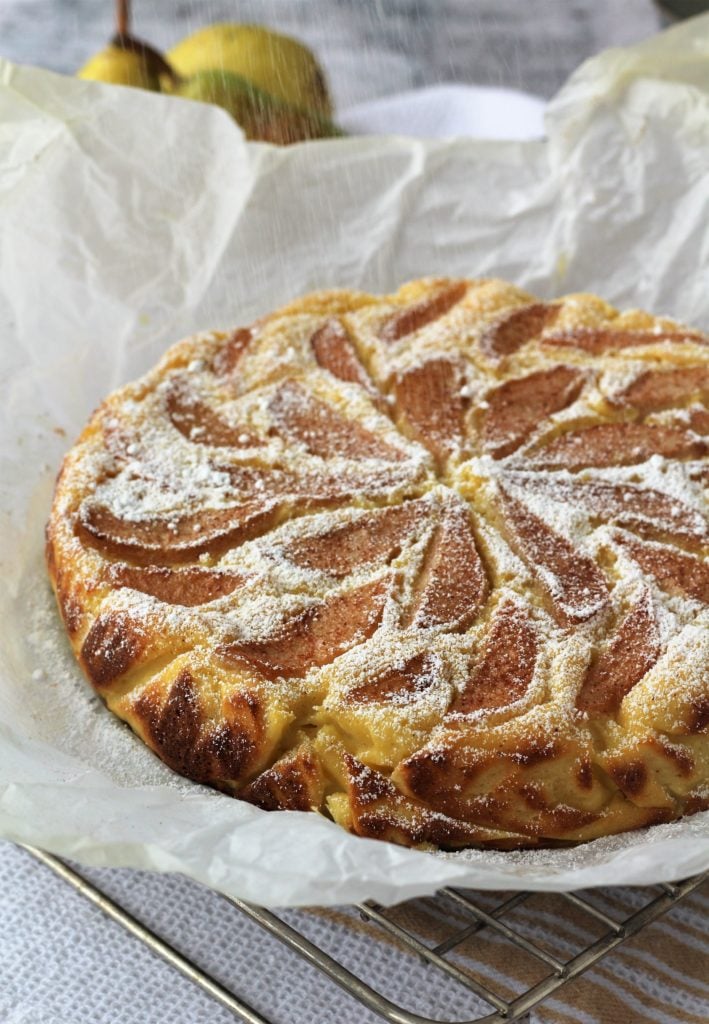
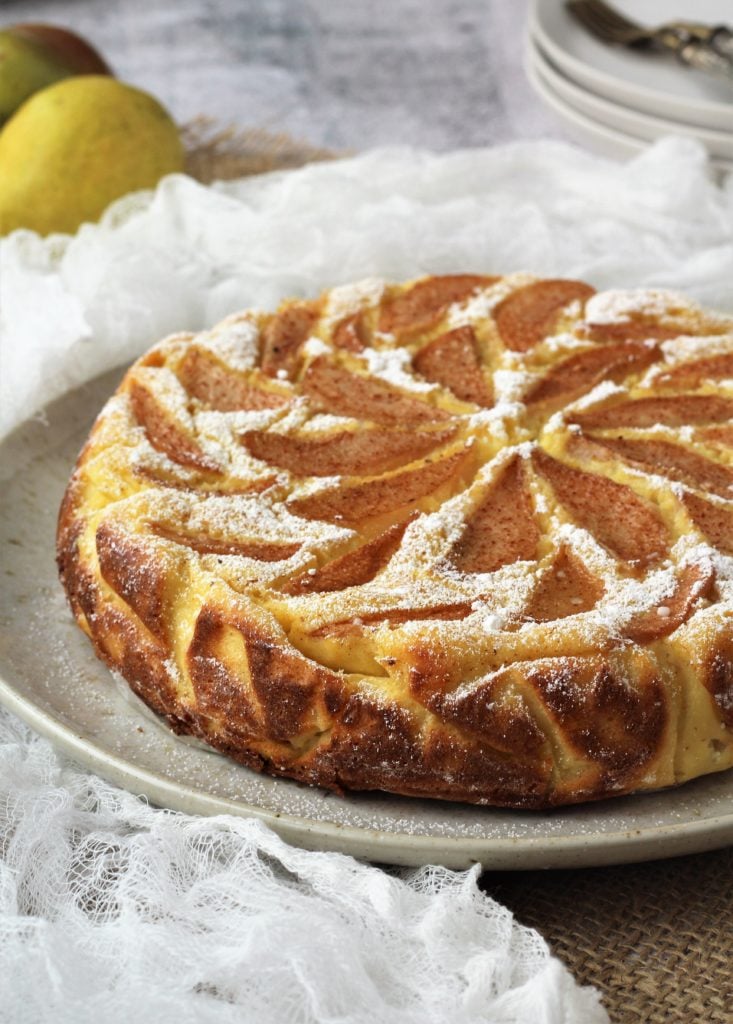
Ricotta and pears are a match made in heaven and Italian style cheesecake doesn't get any easier or prettier than this! This crustless ricotta cheesecake is made with pears stirred in the batter and fanned out on top adding sweet flavor and wonderful texture.
The inspiration behind this cake was an old, hand written recipe for a no crust cheesecake that's been sitting in my index card recipe box (remember those?) forever!
I modified it by omitting the sour cream and added pears and cinnamon for extra flavor. The result is a unique cheesecake that you will enjoy either for breakfast, dessert or any time of day with your coffee.
And best of all, it requires no fancy equipment and you can assemble it in no time. Just stir all ingredients together, top with sliced pears for an extra beautiful presentation and bake!
What is the difference between Italian cheesecake and North American cheesecake?
Although you'll find several ricotta cheesecake recipes with both cream cheese and ricotta, Italian cheesecake is not traditionally made with cream cheese. The result is a cake with a lighter texture and less dense than cheesecake made with crem cheese.
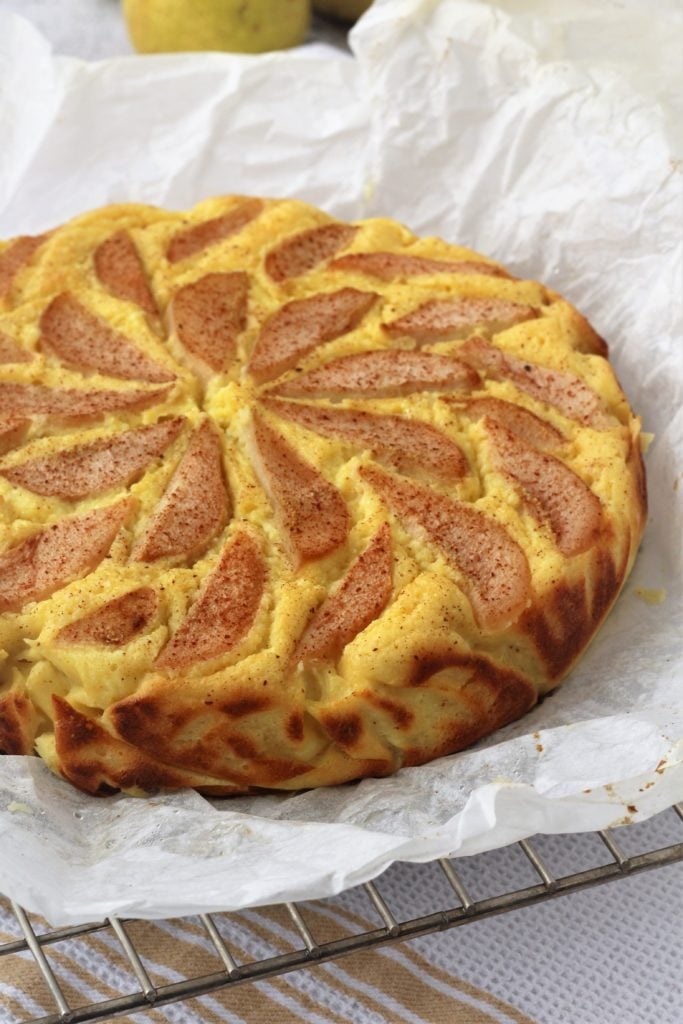
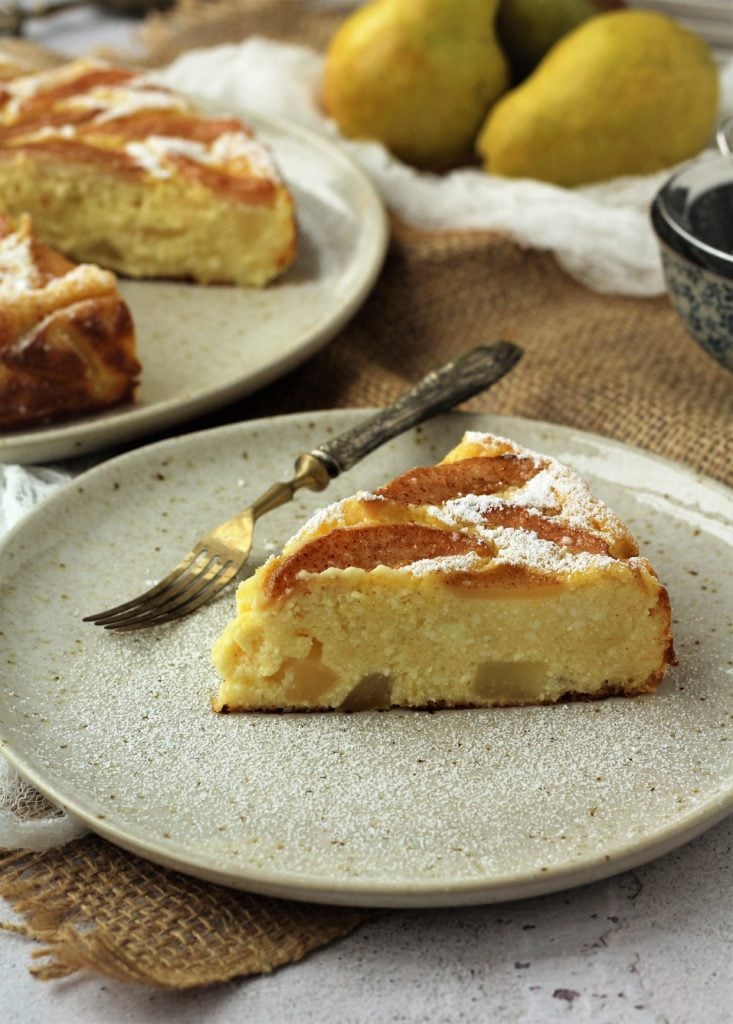
Ricotta cheesecakes do not rise very high as you'll immediately notice in my photos, and this is normal. I baked mine in a 9-inch spring form pan.
Italian cheesecake can be made with a crust as in my Sicilian ricotta cheesecake recipe or without a crust as I did for this Sweet ricotta Easter calzone recipe I previously shared.
What type of pears work best in this recipe?
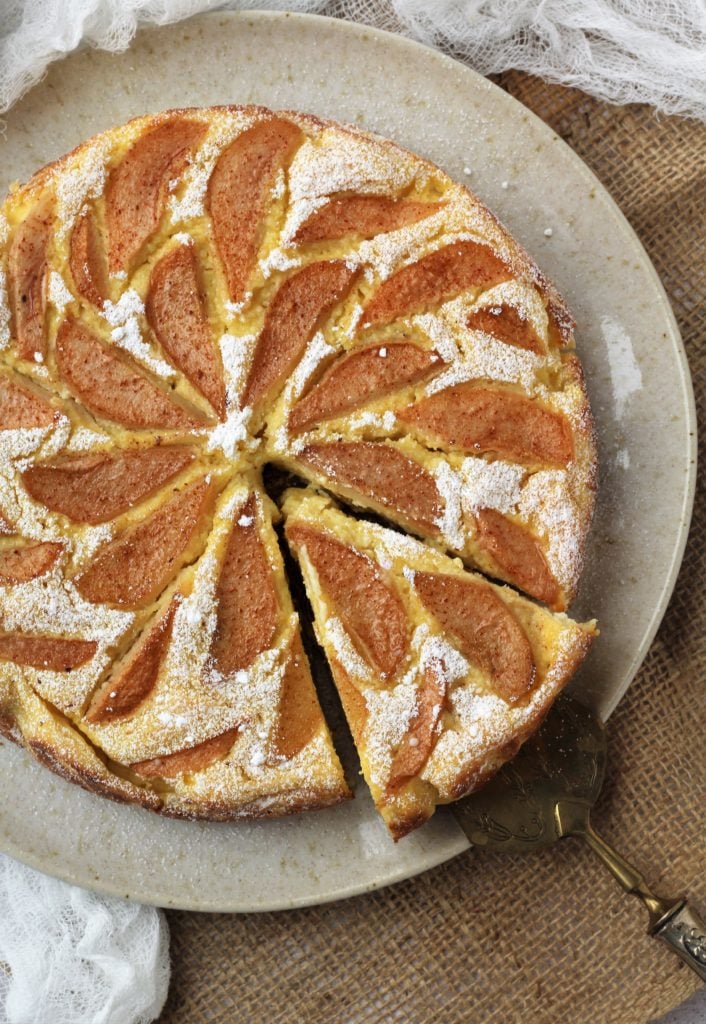
I used Bartlett pears for their juiciness and sweet flavor. However Anjou pears, either red or green, may be substitued.
Make sure to use pears that are ripe yet still firm. That may sound like a contradiction however overripe pears will be too mushy and will not hold their shape during baking.
Ingredient list
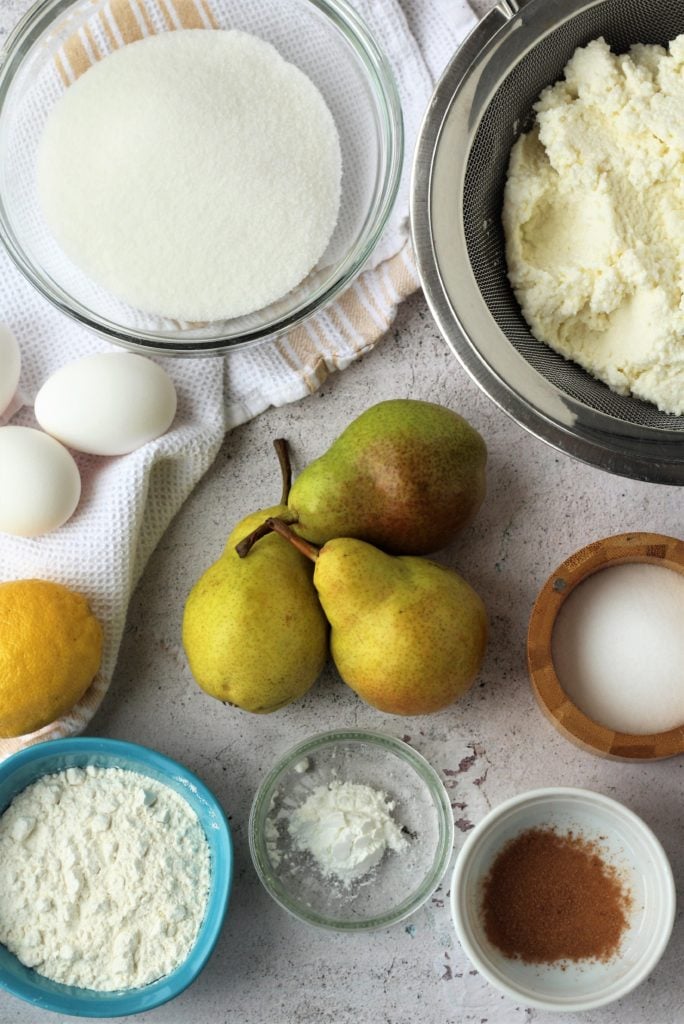
- 3-4 pears: I used Bartlett pears. Two pairs are cubed and stirred into the batter and one or two pears are resereved for topping the cheesecake.
- Ricotta: use whole milk ricotta drained for several hours. Place the ricotta in a fine meshed sieve over a bowl and refrigerate for 2-3 hours.
- Large eggs
- Granulated white sugar
- Lemon: zested and juice of about ½ the lemon
- All-purpose flour
- Baking powder
- Cinnamon: both in the batter and a light sprinkling on top of the cheeseake
- Salt
The following are step by step instructions with images to guide you through this recipe. Please scroll to the end of this post for the detailed, printable recipe card.
Step by Step Instructions
Prepare the pan
- Preheat oven to 350 degrees F.
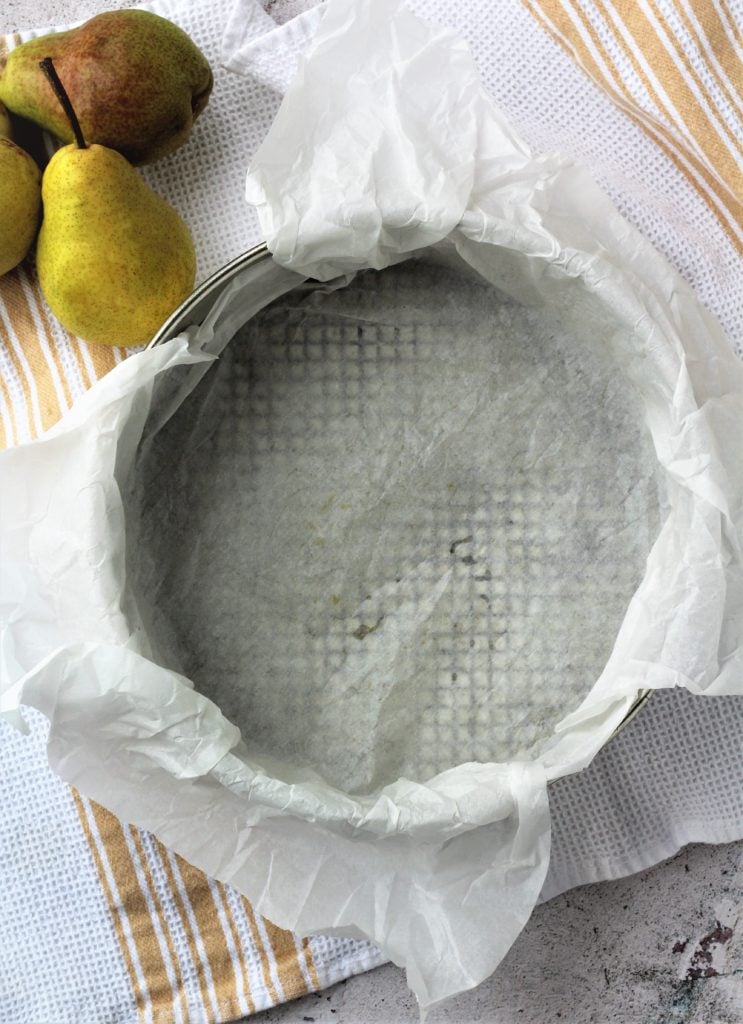
- Grease the bottom and sides of a 9-inch spring form pan. Tear off a sheet of parchment paper large enough to cover the bottom and sides of the pan. Crumple it up into a ball. Open it up and press it into the bottom and sides of the pan. Place the pan on a baking sheet.
Prepare the cheesecake
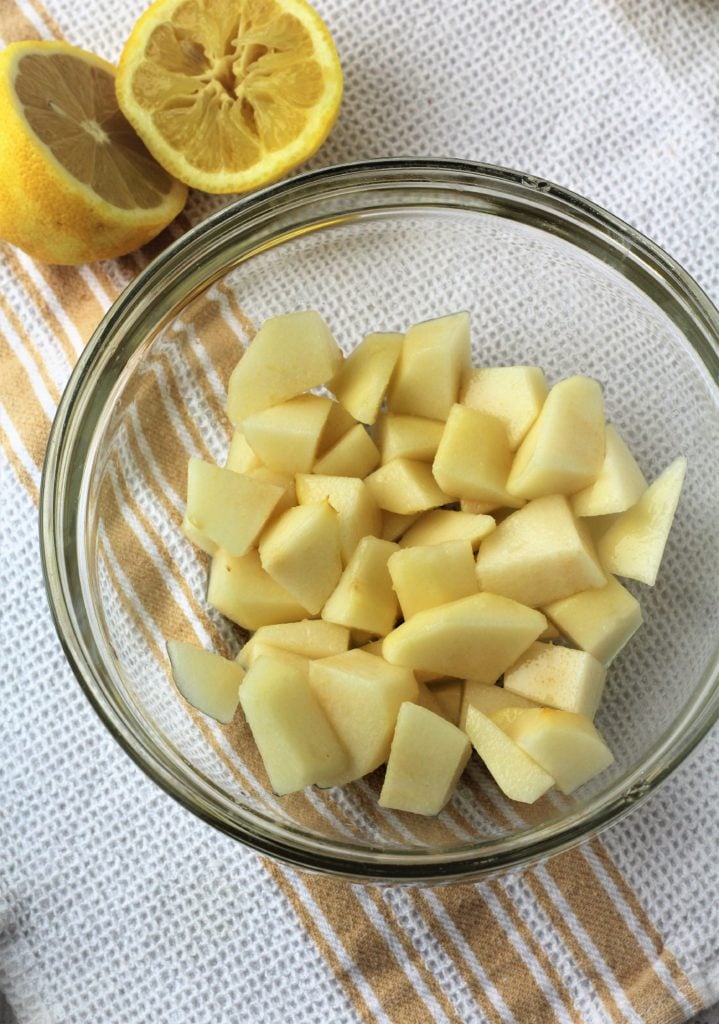
- Peel and core 2 of the pears. Cut into cubes and place in a bowl. Toss with 2 tsp. of freshly squeezed lemon juice. Set aside
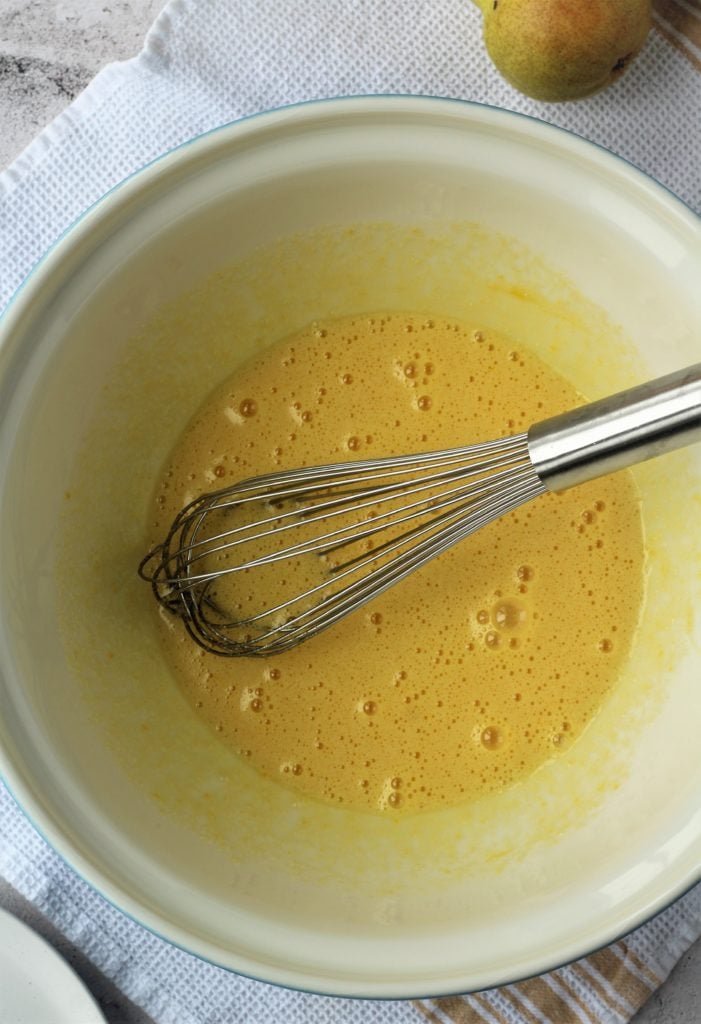
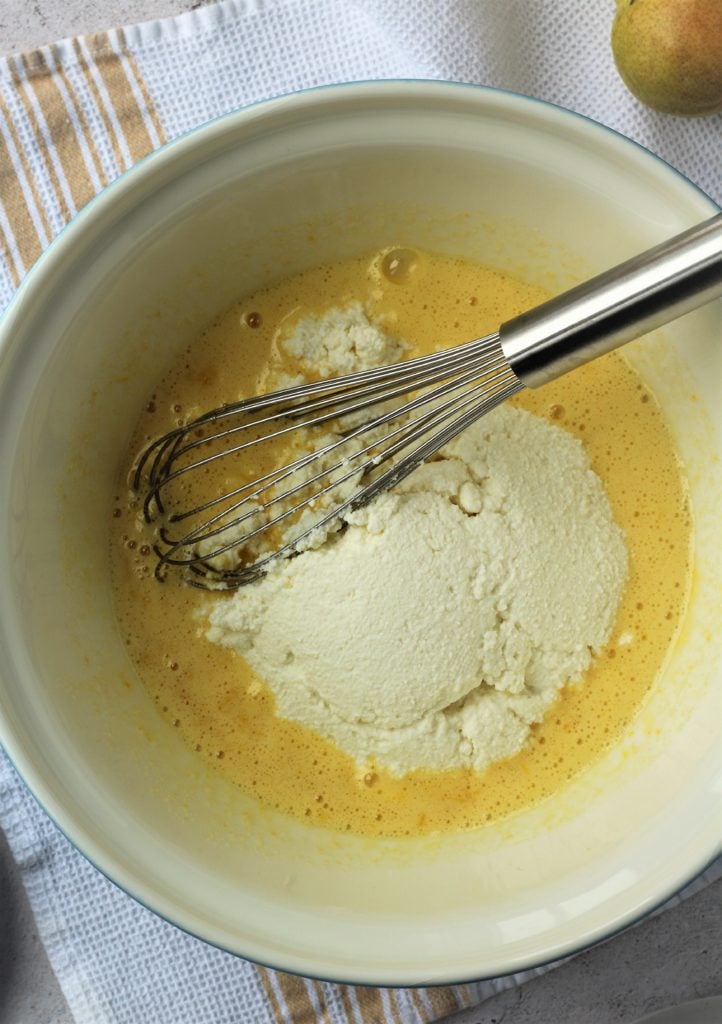
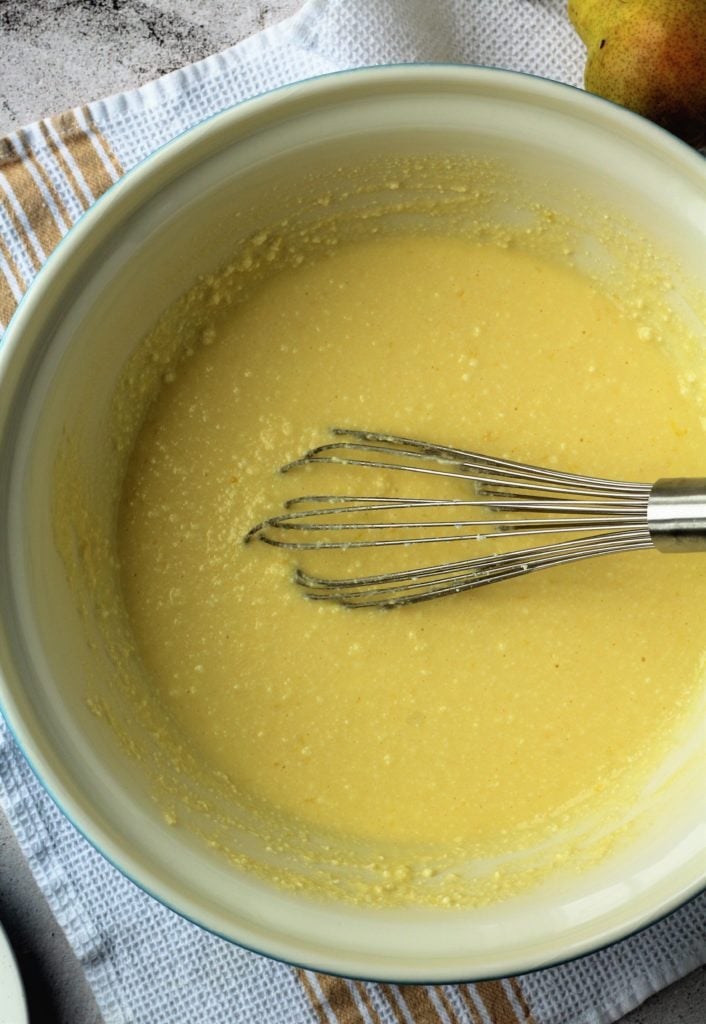
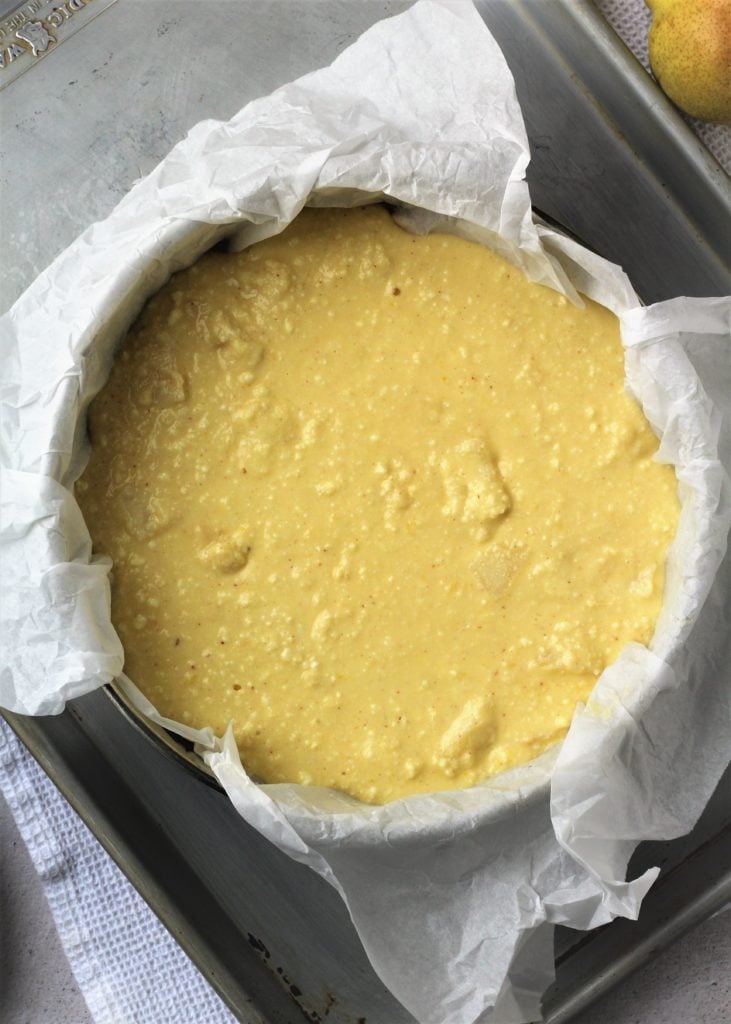
- In a large bowl whisk together the sugar and eggs until pale and frothy. Stir in the drained ricotta and lemon zest and whisk to combine. Due to the grainy texture of the ricotta, the mixture will not be completely smooth. This is normal and ok.
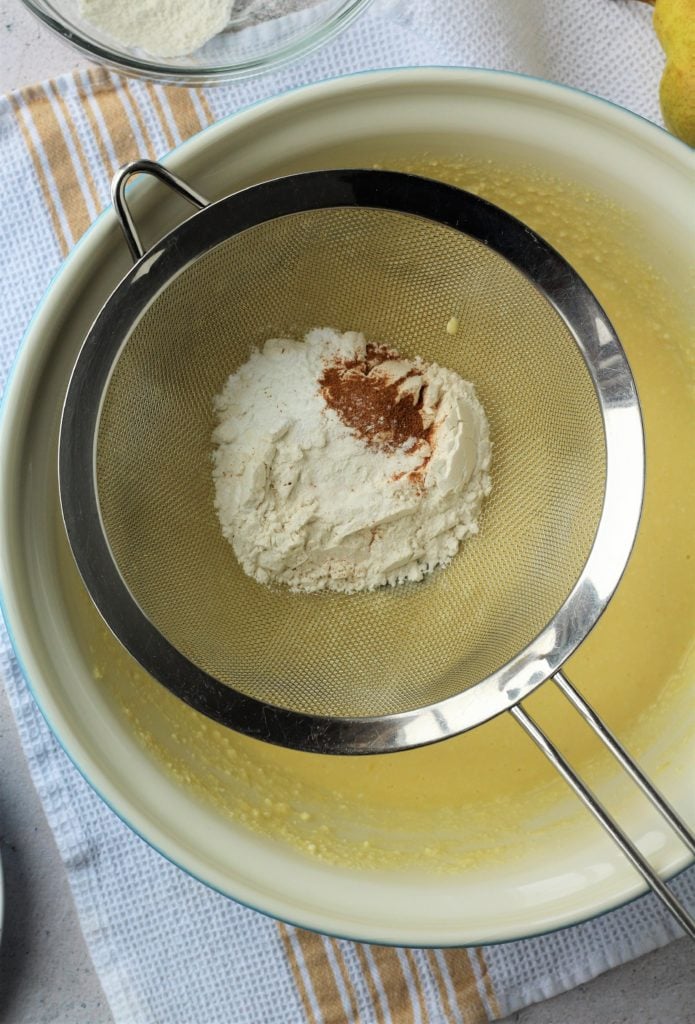
- Sift together the all-purpose flour, baking powder, cinnamon and salt. Use a rubber spatula to stir the dry ingredients into the wet ingredients until just incorporated. Do not over stir.
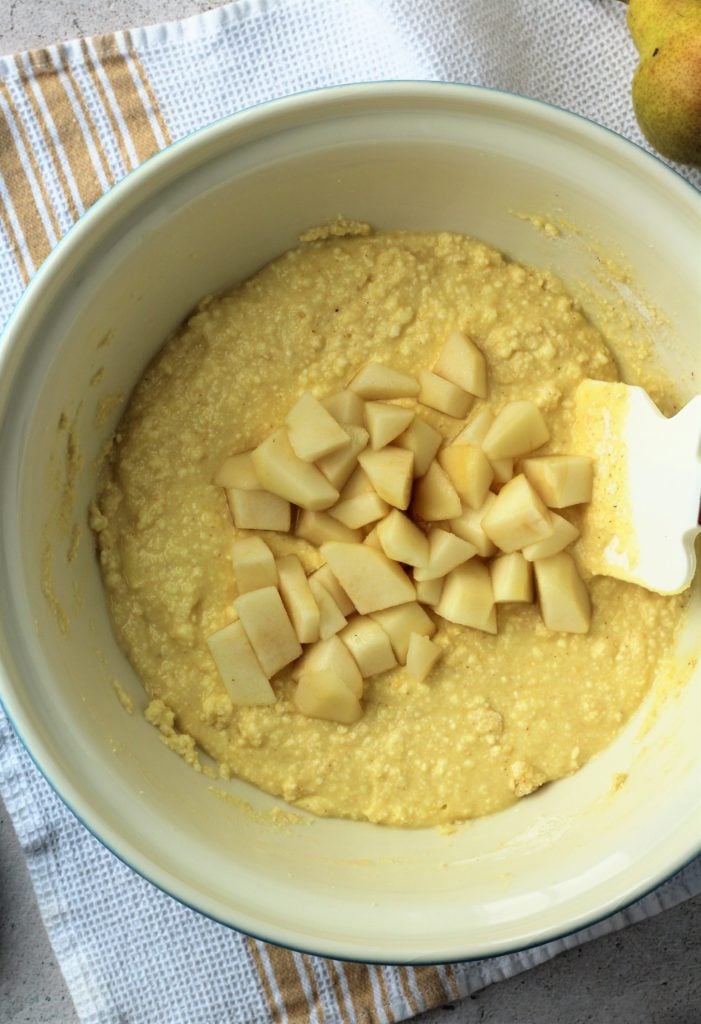
- Gently stir in the cubed pears along with the lemon juice in the bowl until evenly dispersed in the batter.
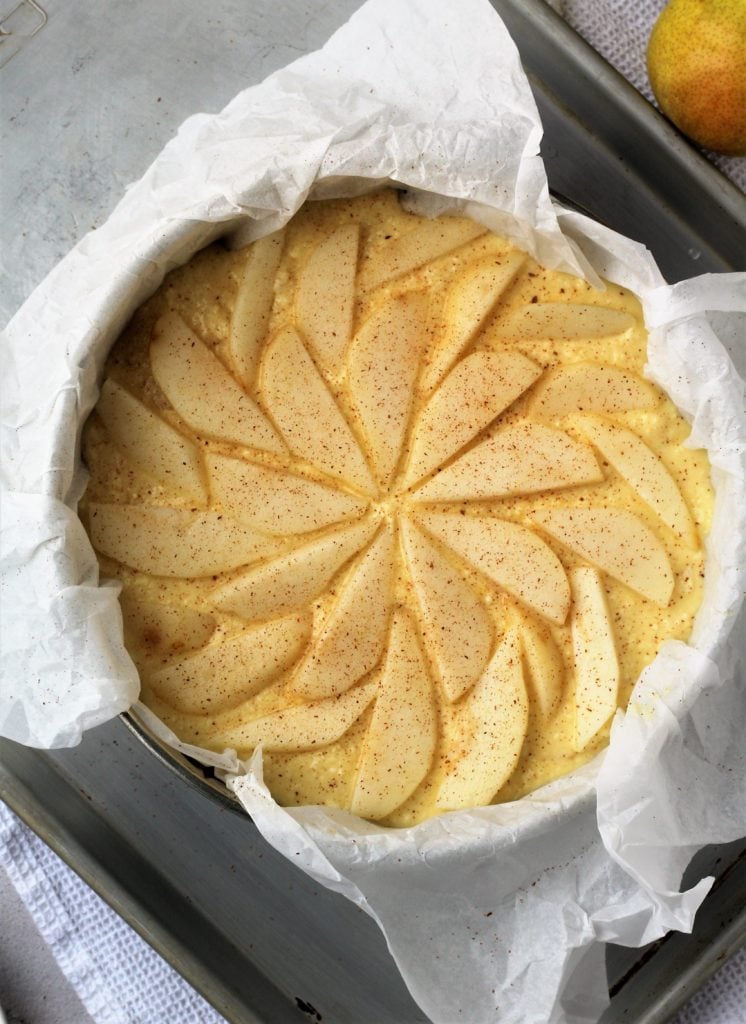
- Pour the mixture into the prepared spring form pan. Peel and thinly slice the remaining pear (or two pears if needed to cover the surface of the cake) and arrange the pieces in a fan formation over the batter. Sprinkle the top with more cinnamon.
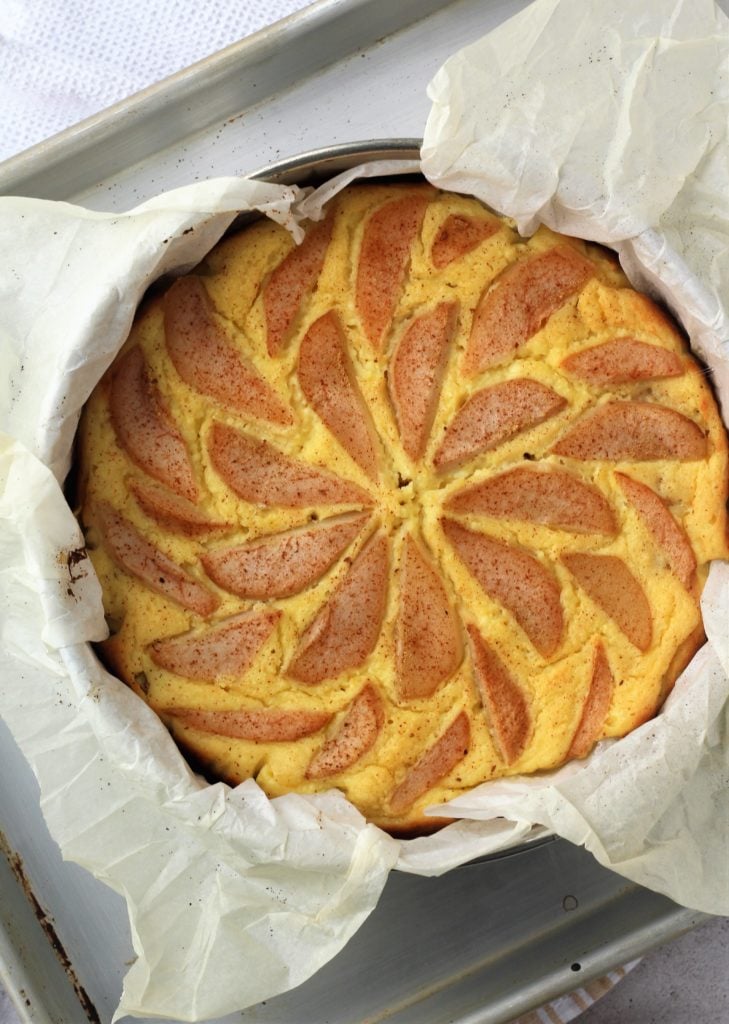
- Bake for 1 hour 15 minutes or until the top is golden brown and the sides begin to pull away from the edges of the pan. The center may still be slightly jiggly but will set as the cheesecake cools.
- Let cool on a wire rack for 15 minutes before removing the sides of the pan.
To serve
- Let cool completely, preferably in the refrigerator, before serving. The center may still be slightly soft when warm but it will set completely once refrigerated.
- Remove from the fridge 30 minutes prior to serving and dust with powdered sugar.
Recipe Notes
-The lemon juice and zest may be replaced with an orange.
-Bartlett pears may be substituted with Anjou pears.
-For extra texture, sprinkle sliced almonds over the top before baking.
-You may separate the egg yolks, beat the whites until they form stiff peaks and fold them into the batter as a last step. This will create a cheesecake with a lighter texture although it is just as good as is!
-Add other flavorings such as 1 teaspoon of vanilla or almond extract to the batter.
-The cheese cake will still be slightly jiggly in the center however the top will be golden brown and the edges will be brown and pull away from the sides of the pan.
-Yes it does. Wrap leftovers well in an airtight container or plastic wrap.
-Keep leftovers refrigerated for up to 5 days.
-This is absolutely normal for a cheesecake made only with ricotta. Ricotta in general has a grainy texture.
Did you try out this recipe?
Please let me know how much you enjoyed it by rating it in the recipe card below!
*****
More sweet ricotta dessert recipes for you to check out!
- Mom's Sicilian Ricotta Pie
- Cartocci Siciliani with Ricotta Filling
- Sicilian Cannoli with Ricotta Filling
- Sweet Ricotta Easter Calzone
- Cassatelle with Ricotta
- Easy Lemon Ricotta Doughnuts
- Pizzelle Cannoli with Ricotta Filling
- Baked Zeppole with Ricotta Filling
- Ricotta Pistachio Cake Roll

No Crust Italian Pear and Ricotta Cheesecake
Equipment
Ingredients
- 3-4 Bartlett pears divided
- ¾ cup granulated sugar
- 3 large eggs
- 3 cups whole milk ricotta drained for several hours
- 1 lemon, zested
- 2 teaspoon lemon juice
- ½ cup all-purpose flour
- 1 teaspoon baking powder
- ¾ teaspoon cinnamon plus extra for sprinkling on top
- ¼ teaspoon salt
For serving
- powdered sugar for sprinking on top
Instructions
Prepare the pan
- Preheat oven to 350 degrees F.
- Grease the bottom and sides of a 9-inch spring form pan. Tear off a sheet of parchment paper large enough to cover the bottom and sides of the pan. Crumple it up into a ball. Open it up and press it into the bottom and sides of the pan. Place the pan on a baking sheet.
Prepare the batter
- Peel and core 2 of the pears. Cut into cubes and place in a bowl. Toss with 2 tsp. of freshly squeezed lemon juice. Set aside.
- In a large bowl whisk together the sugar and eggs until pale and frothy.
- Stir in the drained ricotta and lemon zest and whisk to combine. Due to the grainy texture of the ricotta, the mixture will not be completely smooth. This is normal and ok.
- Sift together the all-purpose flour, baking powder, cinnamon and salt. Use a rubber spatula to stir the dry ingredients into the wet ingredients until just incorporated. Do not over stir.
- Gently stir in the cubed pears along with the lemon juice in the bowl until evenly dispersed in the batter. Pour the mixture into the prepared spring form pan.
- Peel and thinly slice the remaining pear (or two pears if needed to cover the surface of the cake) and arrange the pieces in a fan formation over the batter. Sprinkle the top with more cinnamon.
To bake
- Bake for 1 hour 15 minutes or until the top is golden brown and the sides begin to pull away from the edges of the pan. The center may still be slightly jiggly but will set as the cheesecake cools.
- Let cool on a wire rack for 15 minutes before removing the sides of the pan.
To serve
- Let cool completely, preferably in the refrigerator, before serving. The center may still be soft when warm but it will set completely once refrigerated. Remove from the fridge 30 minutes prior to serving and dust with powdered sugar.
Notes
-You may separate the egg yolks, beat the whites until they form stiff peaks and fold them into the batter as a last step. This will create a cheesecake with a lighter texture although it is just as good as is!
-Add other flavorings such as 1 teaspoon of vanilla or almond extract to the batter. How can I tell when the cheesecake is done? -The cheese cake will still be slightly jiggly in the center however the top will be golden brown and the edges will be brown and pull away from the sides of the pan. Does ricotta cheesecake need to be refrigerated? -Yes it does. Wrap leftovers well in an airtight container or plastic wrap. How long do leftovers keep for? -Keep leftovers refrigerated for up to 5 days. Why is the texture of my cheesecake grainy? -This is absolutely normal for a cheesecake made only with ricotta. Ricotta in general has a grainy texture. Please note that the nutritional information provided is approximate and may vary according to exact ingredients used and portion size.
Nutrition
We are a participant in the Amazon Services LLC Associates Program, an affiliate advertising program designed to provide a means for us to earn fees by linking to Amazon.com and affiliated sites.
 Hiware 9 Inch Non-stick Che...Shop on Amazon




Nancy Moynihan
The cake is fabulous! We really enjoyed it and will have the last bit tonight. I have shared your recipe with several friends too.
Nadia
Thank you Nancy so glad you enjoyed it!
Joan
Can it be made ahead and frozen?
Nadia
Hi Joan, I have never tried freezing this cake and in my opinon it would not be best. This is a very moist cake due to the ricotta and pear combination and I fear it may be too soggy once defrosted. Hope this helps!
Karen
It's pear season in South Africa! I used Forelle pears inside and Abate Fetel pears (a gift from a farmer in Wolseley) on top. Easy and absolutely delicious! Just calculate in 1h15min baking time. I'm baking another one now, but it's cold in the mountains so we'll be eating it warm again. Just as pleasing!
Thanks, Nadia!
Nadia
Hello Karen, I'm so glad you enjoyed this recipe and I do like the idea of sampling it warm! Thanks for your lovely comment!
Cheryl Shaw
Easy to make and as beautiful as it is delicious.
Nadia
Thank you Cheryl for your kind feedback, I'm so glad you enjoyed it!
Lina
Sounds delicious. I can’t wait to try this one.
Nadia
Thank you Lina, I hope you enjoy it!
Nancy Moynihan
I have a question about cooling the cake and wrapping it prior to serving. I made the cake and cooled on the countertop then wrapped in the parchment and cooled in the fridge overnight. Should I wrap in plastic wrap? I'll be serving it over two nights, which will be day 2 and day 3.
Nadia
Hi Nancy, yes I would definitely wrap it in plastic wrap as I would not want it to dry out. Enjoy!